Bands
Click BAND at the top left and choose a band. Each band remembers where you were, so coming back to 40 m puts you back on the frequency you left.
Each band and mode together, such as 40 m LSB or 20 m DIGU, also keep their own filter, AGC, drive and tune levels, and NB and NR choices. They come back when you return to that mode on that band. Mic gain is one setting for the whole station. Changing mode never moves the dial.
Right-click BAND to save the current frequency, or recall one you saved. It works like a set of memories for that band.
Outside the amateur bands the button reads GEN, for general coverage. Transverter bands you turn on in Config > Station each get their own band button.
Modes
Click MODE to choose.
| LSB | Voice below 10 MHz, by amateur custom. |
| USB | Voice above 10 MHz, and most digital modes. |
| CWL, CWU | CW, listening below or above the carrier. See CW. |
| AM | Full-carrier broadcast and amateur AM. |
| SAM | Synchronous AM. It locks to the carrier, which holds up better when a signal fades. |
| FM | Narrow FM, usually 10 m and up. |
| DIGL, DIGU | For digital modes. DIGU is the usual choice for FT8 and similar. |
| FreeDV | RADE digital voice. See FreeDV. |
| SWL | Shortwave listening with a station guide. See The station guide. |
| DRM | Digital shortwave broadcasts, where the DRM decoder is installed. See DRM. |
In the digital modes, audio passes straight through in both directions. Transmit EQ, compressor, CESSB, CFC, leveler, noise gate and phase rotator stand aside, as do receive noise reduction, blankers, notches, squelch and the receive EQ. Their buttons keep your settings for other modes. That's what decoding programs want.
AM and FM options: right-click MODE while in AM, SAM or FM. AM has broadcast-style transmit settings. FM has narrow deviation, CTCSS tones, reverse and the 1750 Hz tone burst.
Ways to tune
- Wheel: over the frequency or the panadapter, each click of the wheel moves one tuning step. A sideways scroller works too, more slowly.
- Click: click a signal on the panadapter to go to it.
- Type: click the frequency, type it and press Enter. Esc cancels.
- Band button: choose a band.
- Memories: see below.
Tuning step
The highlighted digit in the frequency is the one your step moves. Use Step beside the frequency to change it. 1 kHz or 500 Hz suits SSB; 10 Hz or 1 Hz is fine tuning.
Lock
The padlock under Step stops tuning from here, so you can't bump the dial. Software using CAT or TCI can still tune it.
RIT and XIT
These move receive (RIT) or transmit (XIT) a little without moving the dial. Click to turn one on or off, use the wheel over it for 10 Hz a click, and right-click to clear it. RIT works on slice A only.
Memories
Mem, beside Band and Mode, opens 48 memories in three tabs, A, B and C, of 16 each. They're the same on every band.
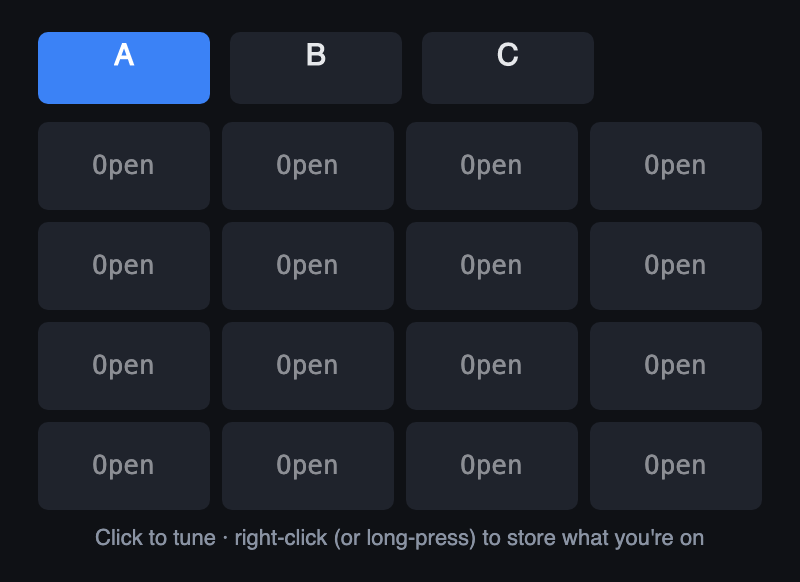
- Click a memory to tune to its frequency and mode.
- Right-click one (long press on a touch screen) to store the frequency and mode you're on. That replaces what was there.
- When the popup closes, each tab sorts by frequency, lowest first, left to right. Memories stay on their own tab.
- Mem opens on the tab you used last.
For a few favourite spots on one band, the band's own saved frequencies (right-click BAND) are quicker.
Reading the display
Panadapter
The upper graph shows signal strength across the band, with frequency left to right and level up the side. The flat grassy line at the bottom is the noise floor. Anything standing above it is a signal or interference.
Waterfall
The lower part shows the same thing over time, with new rows arriving at the top. Brighter colours are stronger. SSB looks like wandering streaks, CW like dashes, and AM like a bright line with sidebands either side. Steady vertical lines are usually carriers or birdies.
What's drawn on it
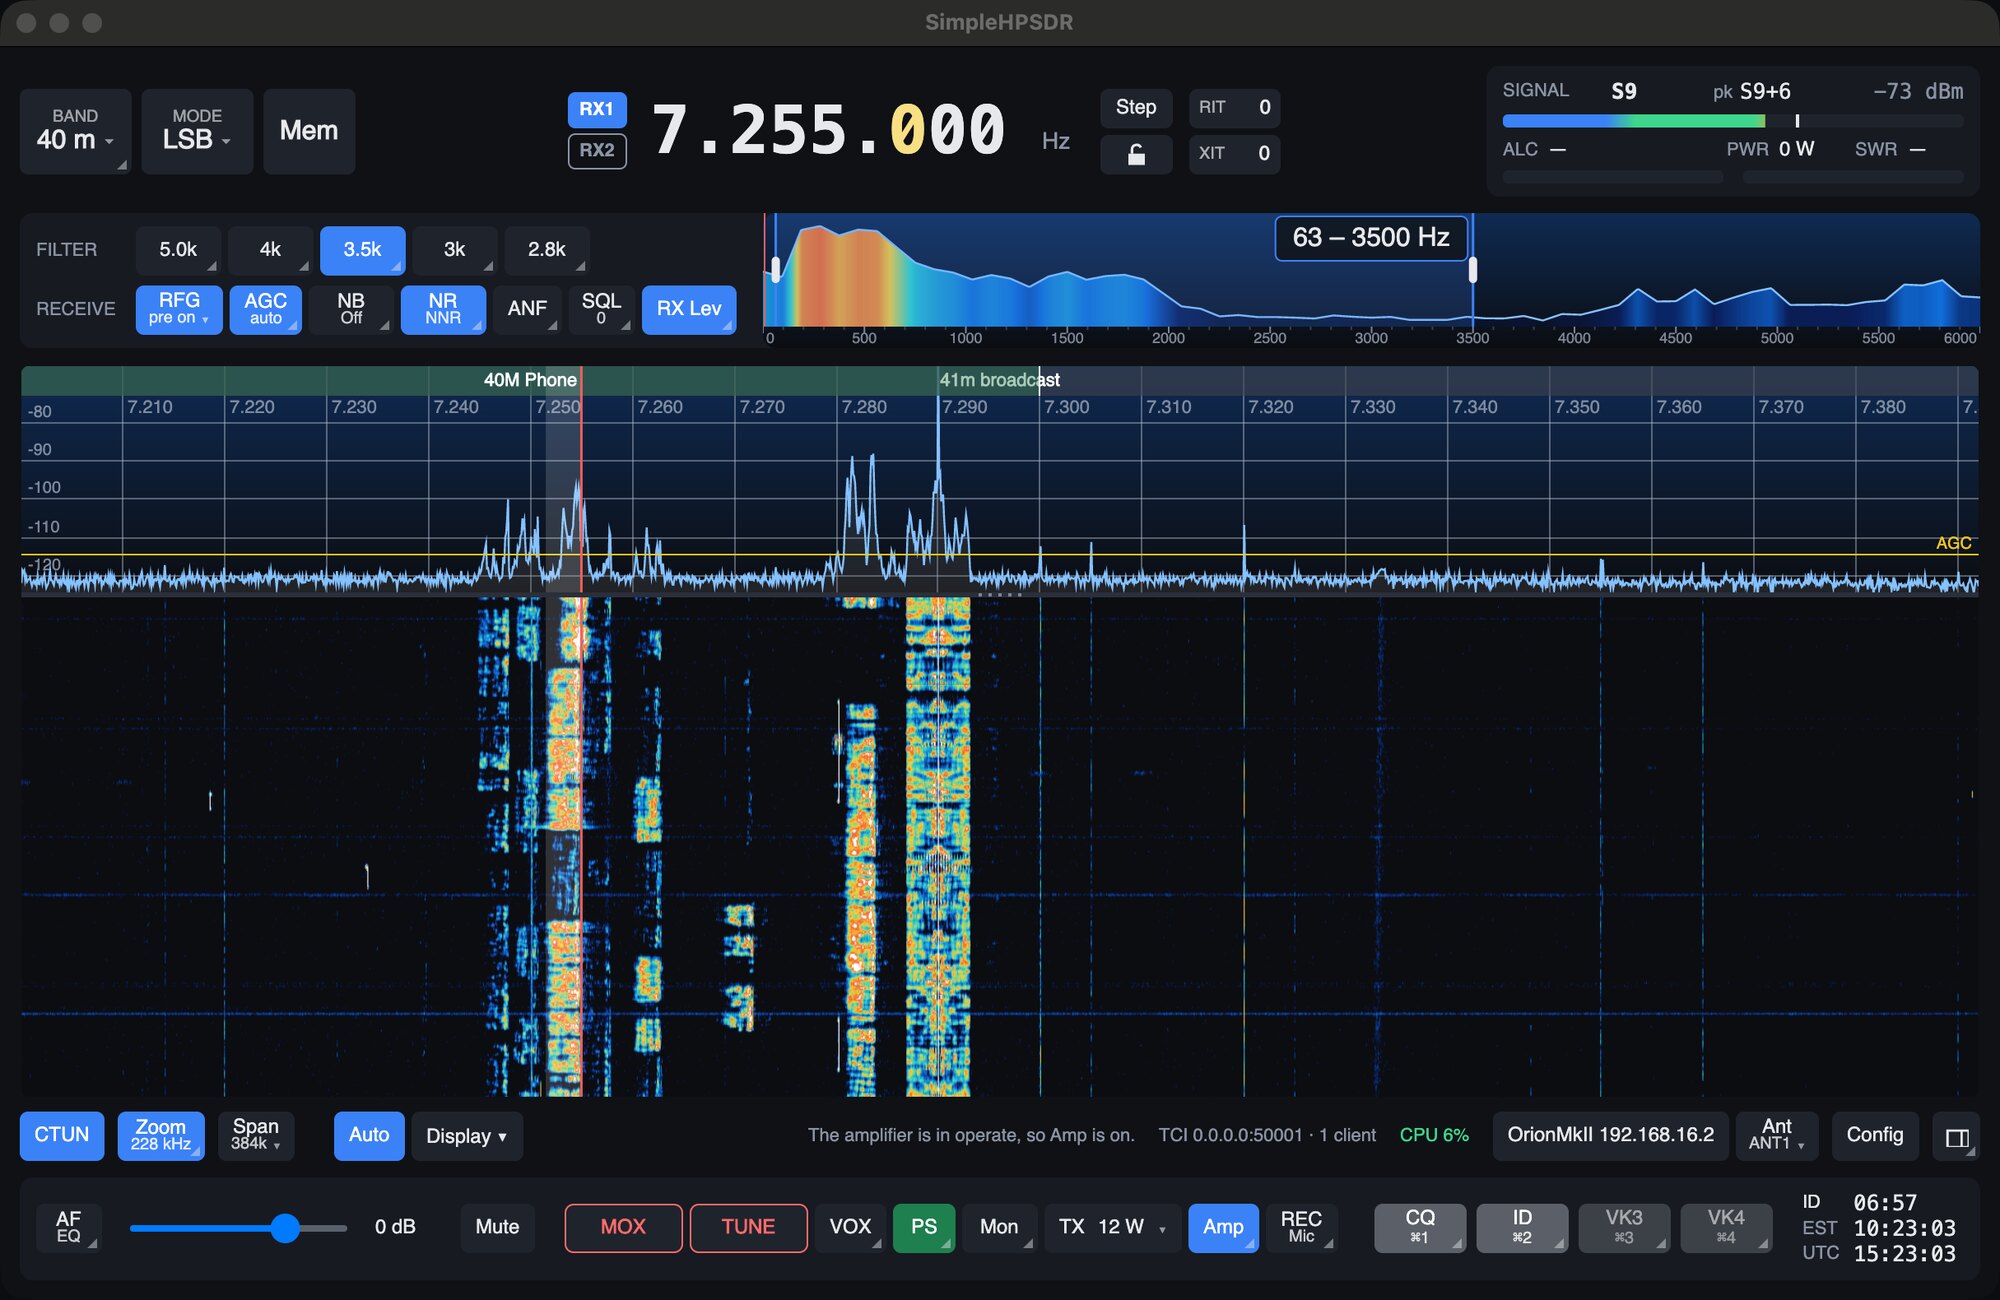
- The red line is your frequency (slice A). Slice B has its own colour.
- The shaded band beside it is your receive filter: what you can hear.
- The yellow line is the AGC threshold.
- A red band is a manual notch.
- The strip along the top is your band plan, with white lines at the edges.
- A line follows the pointer, with the frequency beside it.
- The dotted bar between the panadapter and the waterfall drags to change their sizes.
Moving the display
Drag the panadapter to slide the band under the display.
CTUN changes what a click does. With it off, the display follows the dial. With it on, the display stays still and only the receive frequency moves, so you can tune across a section of band without the picture sliding.
With CTUN on, a drag that reaches the end of the span pauses for a moment, then the tuned frequency moves to the middle of the display so you can keep going.
Seeing more or less of the band
- Span sets the full width the radio takes in, from its sample rate. A wider span shows more of the band and uses more computer power.
- Zoom spreads part of that span across the display. Click it to go between full span and zoomed.
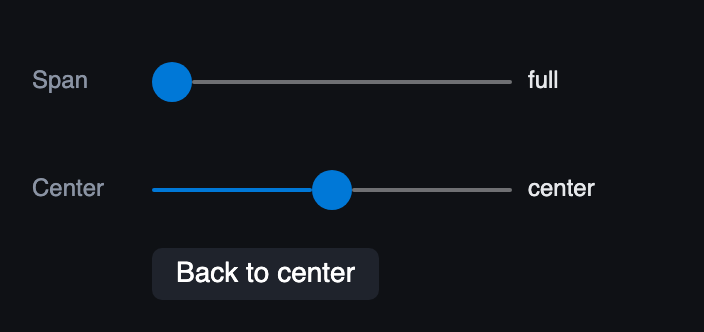
Right-click Zoom to set the span, from full at the left end of the slider, and Center, which sets where the dial sits across the display: left, center or right. Center works with CTUN on or off.
Ctrl+wheel over the spectrum (⌘+wheel on a Mac) or a trackpad pinch zooms too. The dial stays where it is while you zoom.
With RX2 on, each receiver has its own span and Center. The Zoom button and its sliders show and set those of the receiver that has the controls, and Ctrl+wheel zooms the panadapter the pointer is over. RX2's Center takes effect once RX2 is zoomed in.
Adjusting the picture
- Auto keeps the display range on the noise floor. It's on by default and needs no attention.
- Display sets the range by hand, the resolution, the waterfall speed and POP.
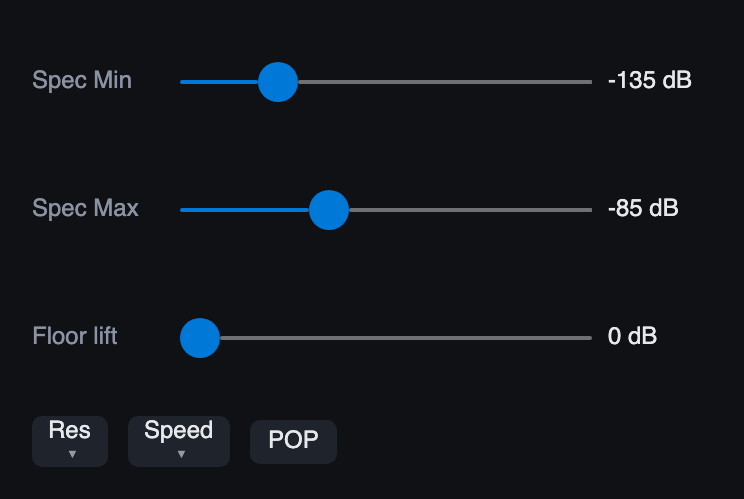
- Spec Min and Spec Max are the bottom and top of the range. Moving either one turns Auto off.
- Floor lift raises the noise up off the waterfall while Auto is on. 0 leaves it at the bottom of the trace.
- Res is the resolution and Speed how fast the waterfall scrolls.
- POP makes the waterfall follow the noise floor, which lifts weak signals out of it.
Config > Colors changes the spectrum line, the shading under it, the background, the grid and the waterfall colours.
The close-up
The close-up, beside the filters, shows 6 kHz from the dial as audio frequency (3 kHz in CW), with the receive filter shaded. It's the best place to see how a voice fits in the filter.
- Drag the filter's edges in it to set the low and high cuts. The box along its top shows them in Hz.
- Move the mouse over it: a line follows the pointer and a flag beside it shows the audio frequency there.
- The area under the trace is coloured like the waterfall, so the strongest part of the audio stands out.
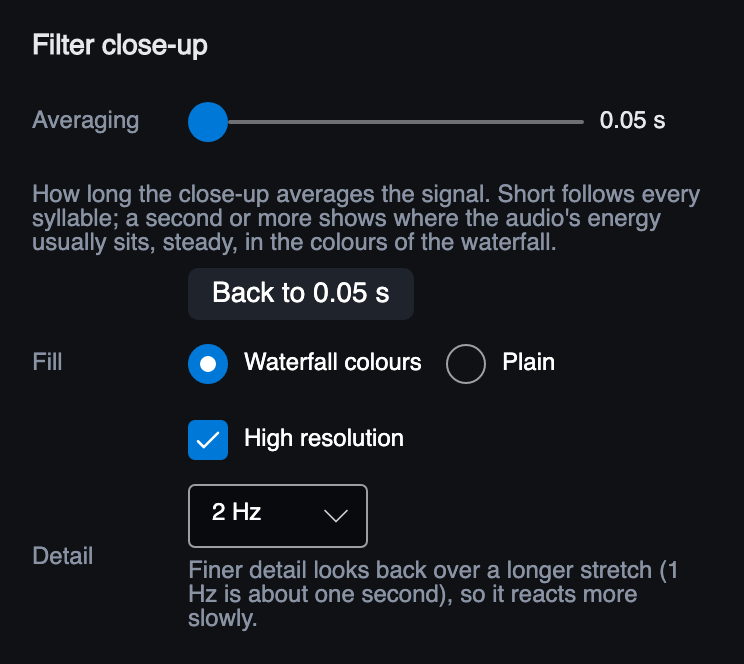
| Averaging | 0.05 to 3 seconds. Short (the default) follows every syllable. A second or more shows where the signal's energy usually sits, which helps when setting the filter edges. |
| Fill | Waterfall colours (the default) or Plain, a single shade under the trace. |
| High resolution | On by default: the engine works out a fine spectrum just for the close-up, instead of cutting it from the panadapter. You see the separate tones in a voice, a CW signal as a narrow spike, and carriers and hums sharply. |
| Detail | 4, 2 (the default) or 1 Hz. Finer detail looks back over a longer stretch, about a second at 1 Hz, so it reacts more slowly. 4 Hz follows speech best; 1 Hz is for spotting a carrier or hum exactly. |
The S-meter
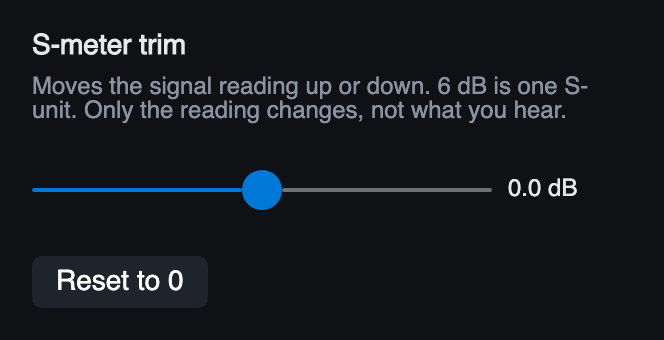
The meter panel at the top right shows the signal in S-units and dBm, with a marker at the recent peak. Right-click it for the S-meter trim, which moves the reading up or down: 6 dB is one S-unit. Only the reading changes, not what you hear.