
Config, under the panadapter, holds the settings you set once. It has fourteen pages along its top.
- Changes take effect as you make them. There's no OK button.
- Undo changes puts every page back to how it was when the window opened.
- On most pages a jack, bias, antenna relay or receive input your radio doesn't have stays on the page, greyed out. Hardware shows only what your radio has.
The pictures on this page are from a working station, so the values in them are examples, not recommendations.
What to set first
| Page | Set |
|---|---|
| Radio | Your radio model, if it wasn't set in the radio picker. |
| Audio | Your speakers and microphone. |
| Station | Your callsign and band plan. |
| Antennas | Which antenna each band uses, if you have more than one. |
| Amp | Maximum drive and delays, if you have an amplifier. |
| CAT & TCI | The TCI server, if you use logging or digital programs. |
Everything else can stay as it is until you want it.
Radio
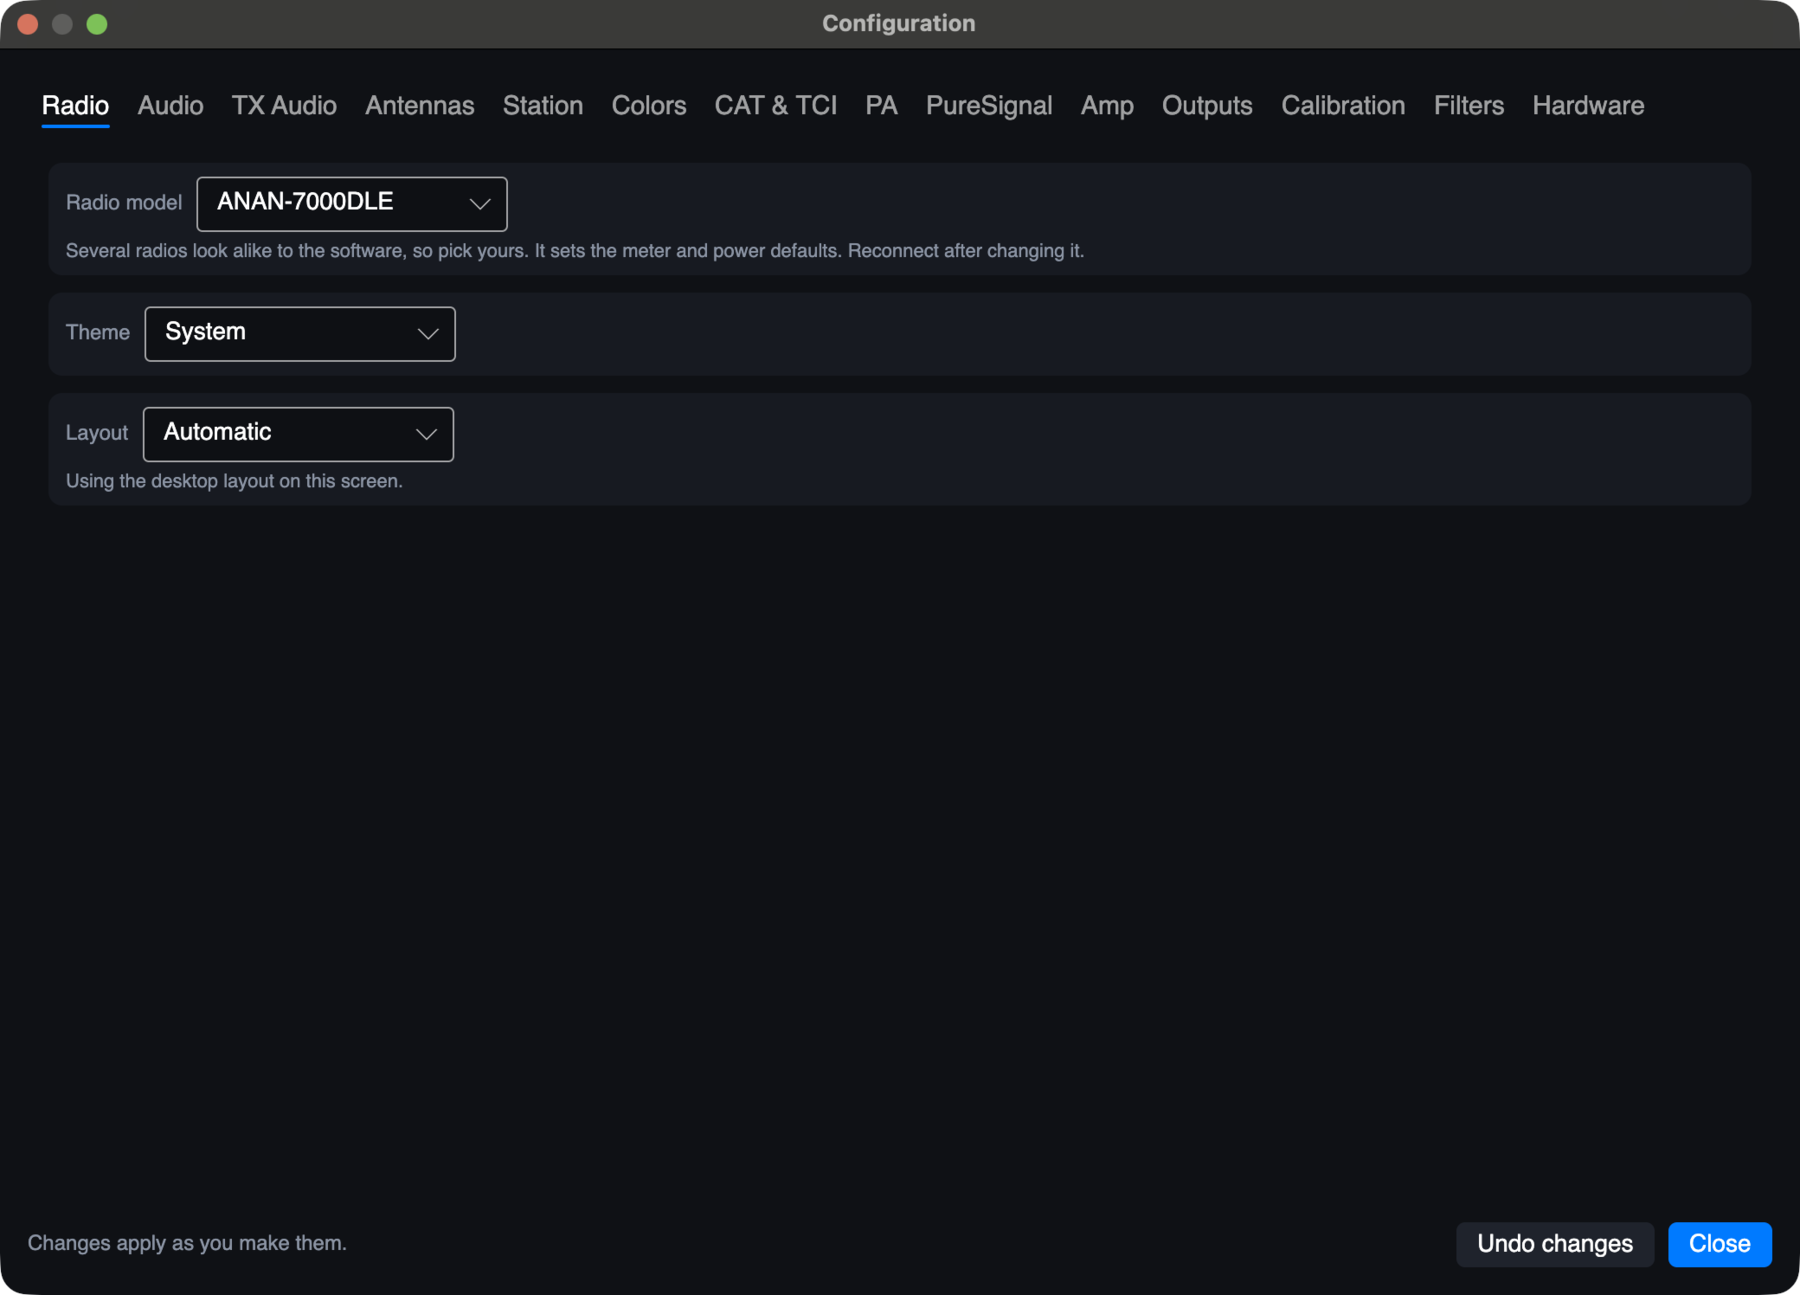
- Radio model. Several radios look alike to the software, so pick yours. It sets the meter and power defaults. Reconnect after changing it. When your radio was recognised by itself, the page says so and there's nothing to choose.
- Theme: System, Light or Dark.
- Layout: Automatic, Desktop or Touch. Automatic uses the touch layout on screens narrower than 1080 pixels. With Automatic, the line under it says which is in use on this screen.
Audio
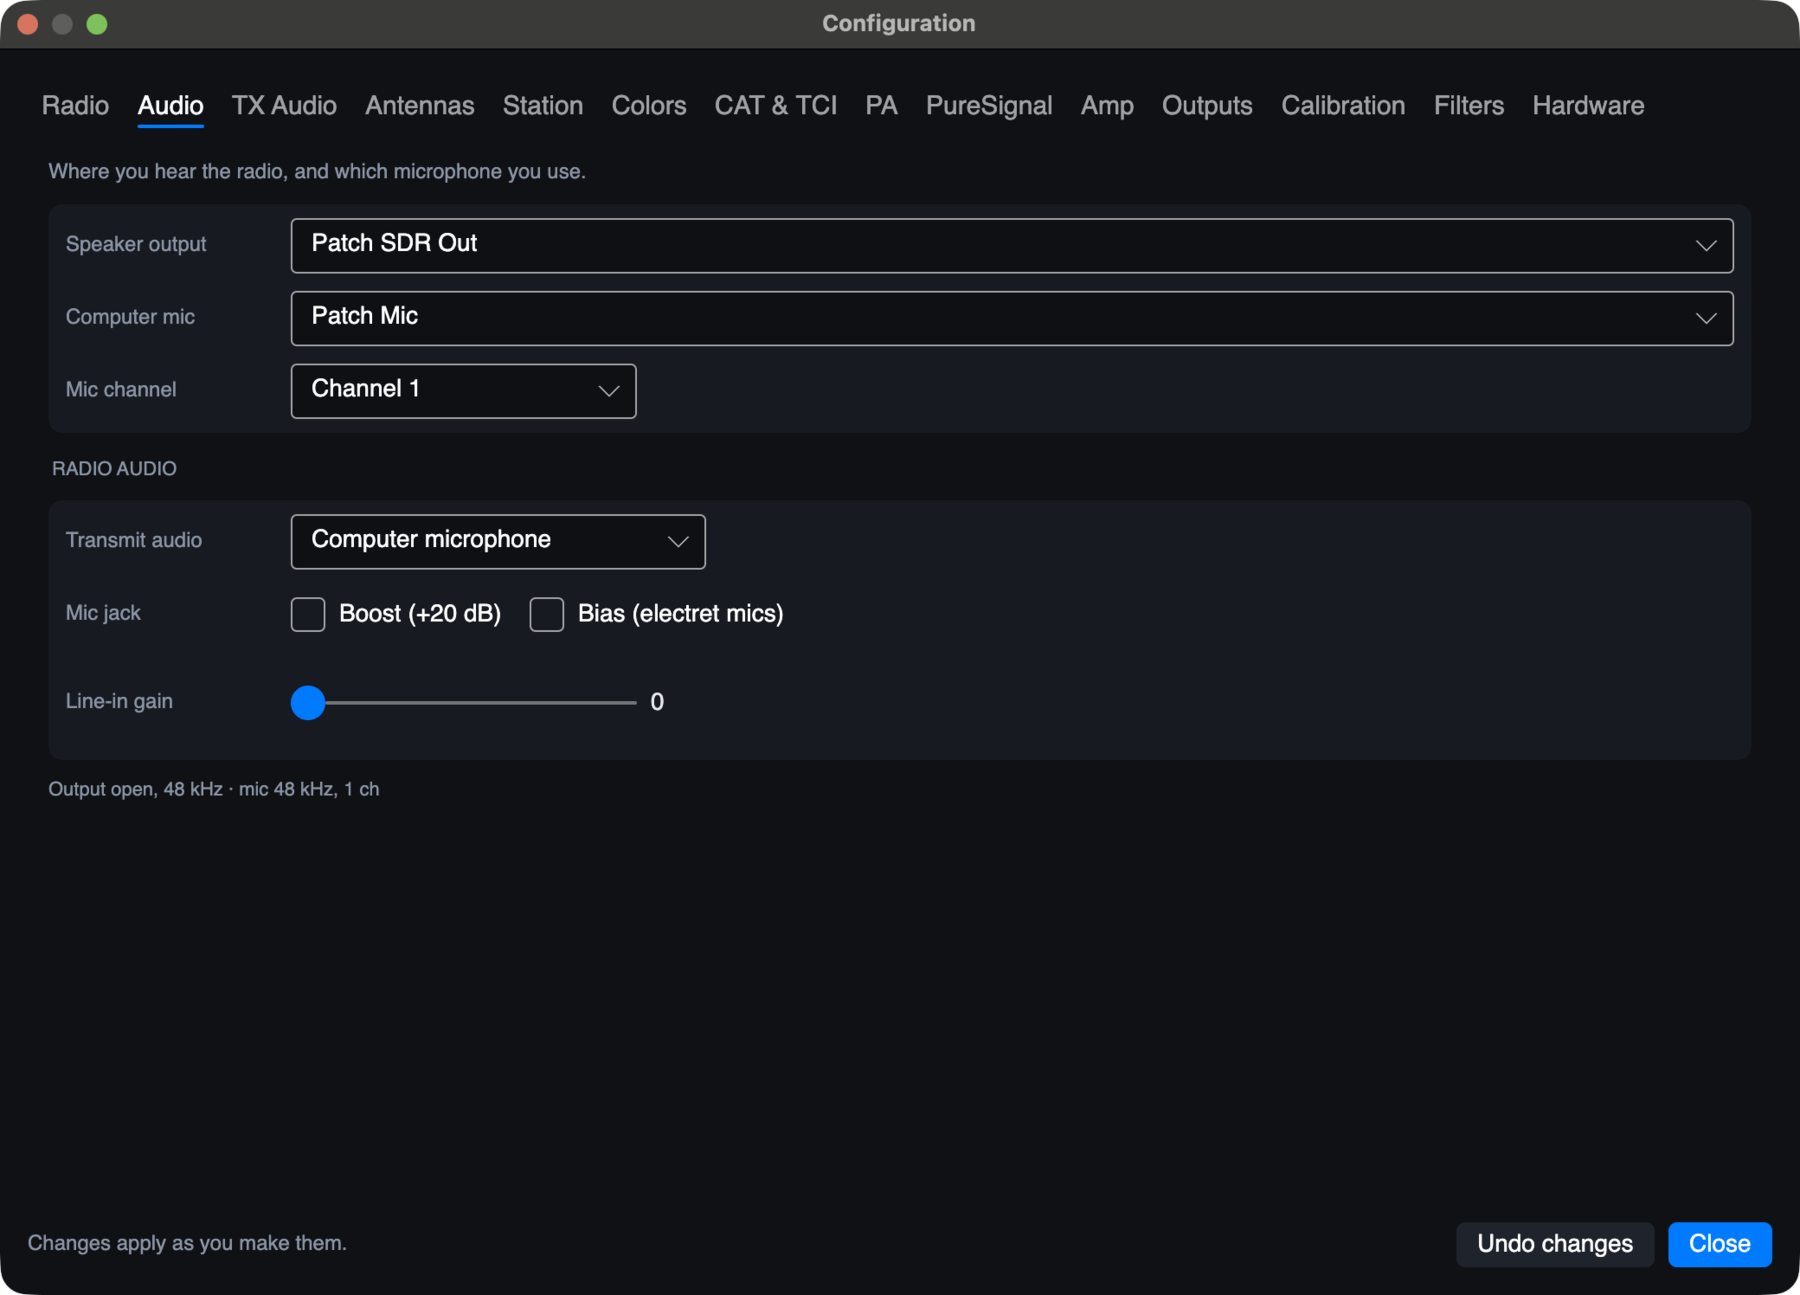
- Speaker output is where you hear the radio. If your radio has a speaker or headphone jack, choose Radio speaker jack to hear receive audio there instead of on the computer. Changing to or from it restarts the engine and reconnects, which takes a few seconds. Mon can't play while it's chosen.
- Computer mic and Mic channel choose the microphone and which channel of it.
- Transmit audio chooses the computer microphone, or the radio's mic jack, line in or XLR input where the radio has them. Boost and Bias are for a mic on the radio's jack: bias powers an electret mic. Line-in gain sets the line input's level.
- The line at the bottom shows what's open and at what rate.
On Windows the page also has Audio system: System audio or ASIO, with the driver, its panel and the buffer size. The driver must be able to run at 48 kHz. See Troubleshooting if ASIO won't stay selected.
TX Audio
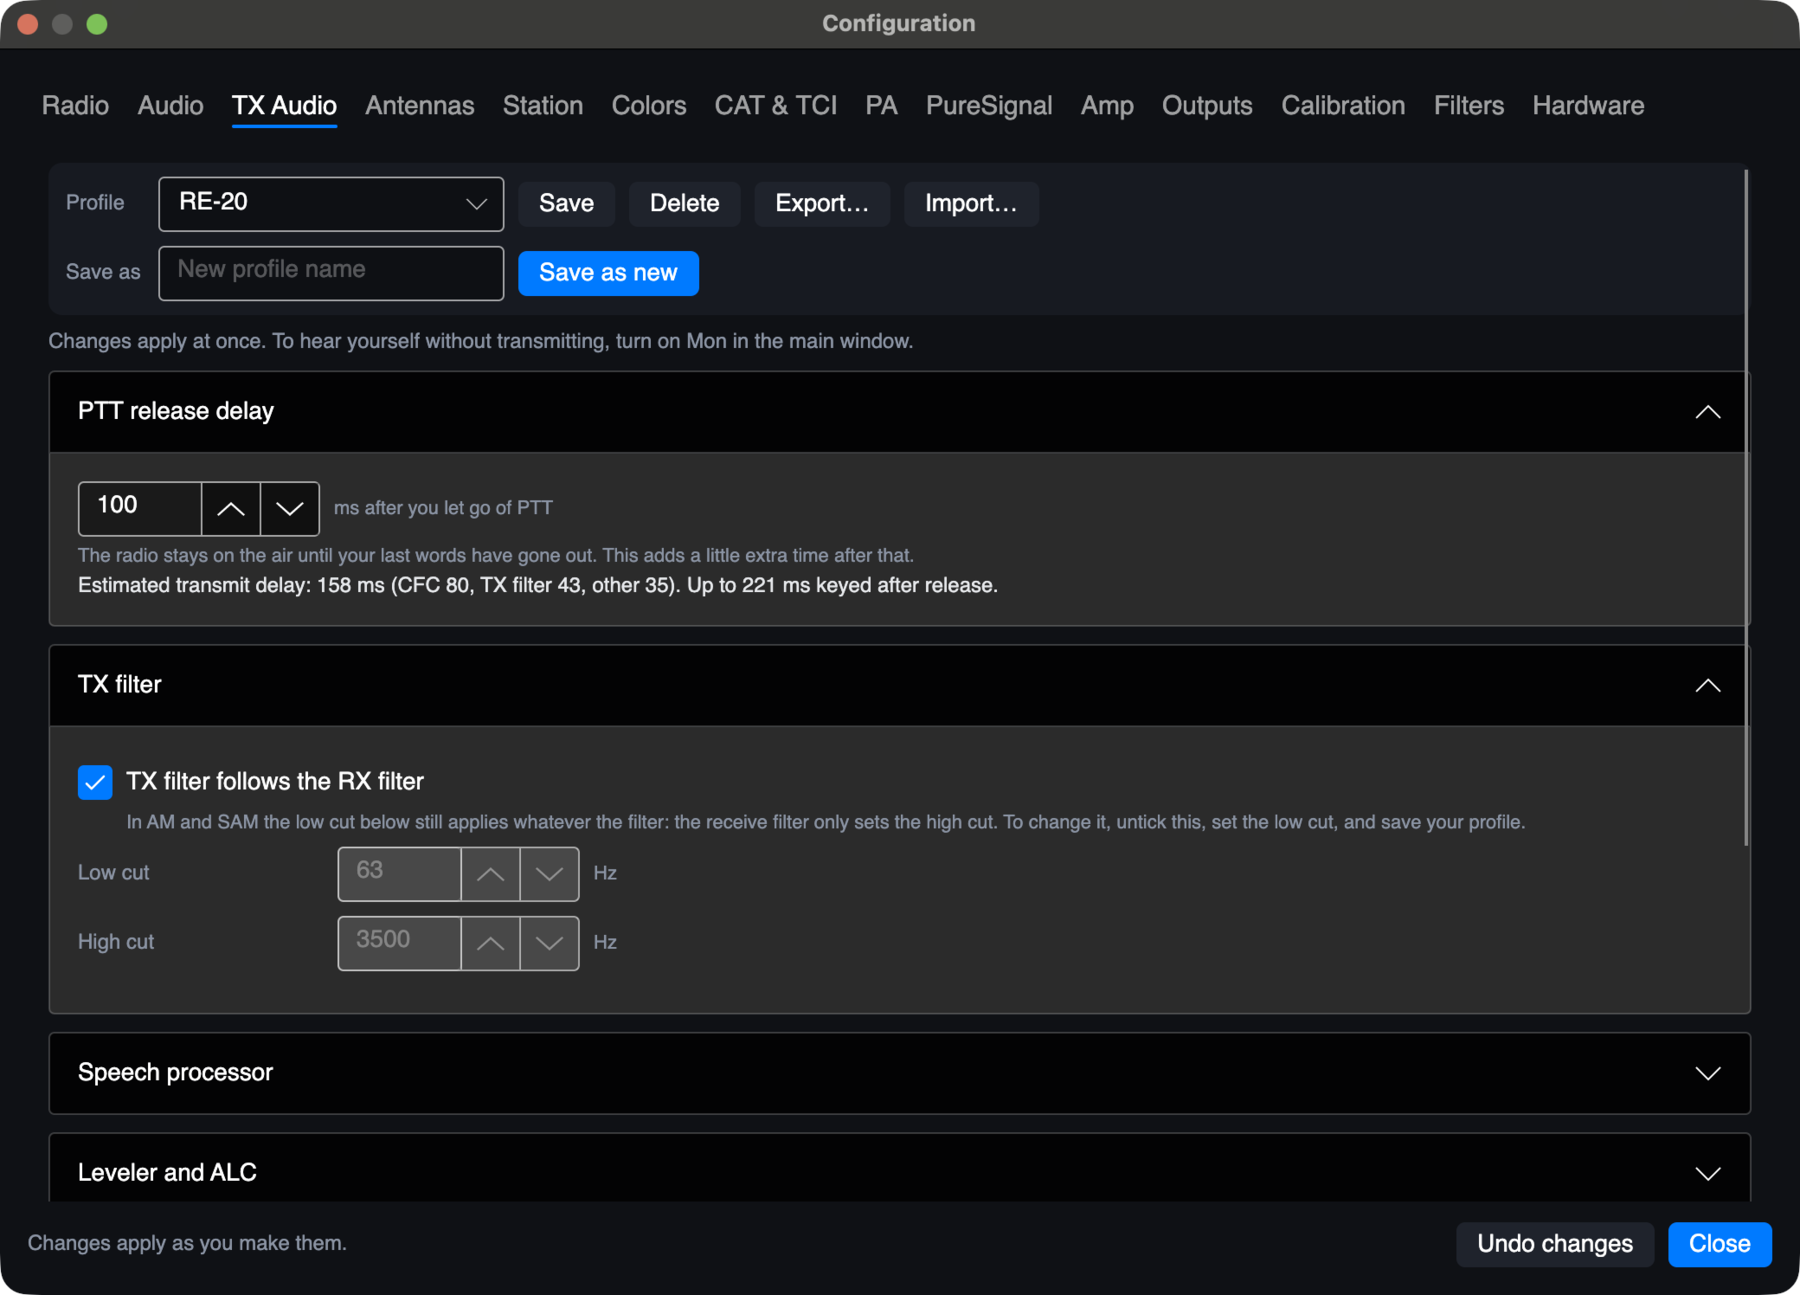
Everything that shapes your voice, in the order it's processed, with named profiles you can save, load and share. Sections: PTT release delay, TX filter, Speech processor, Leveler and ALC, Equalizer, CFC, Noise gate and Phase rotator. Each is described under Transmit audio.
Antennas
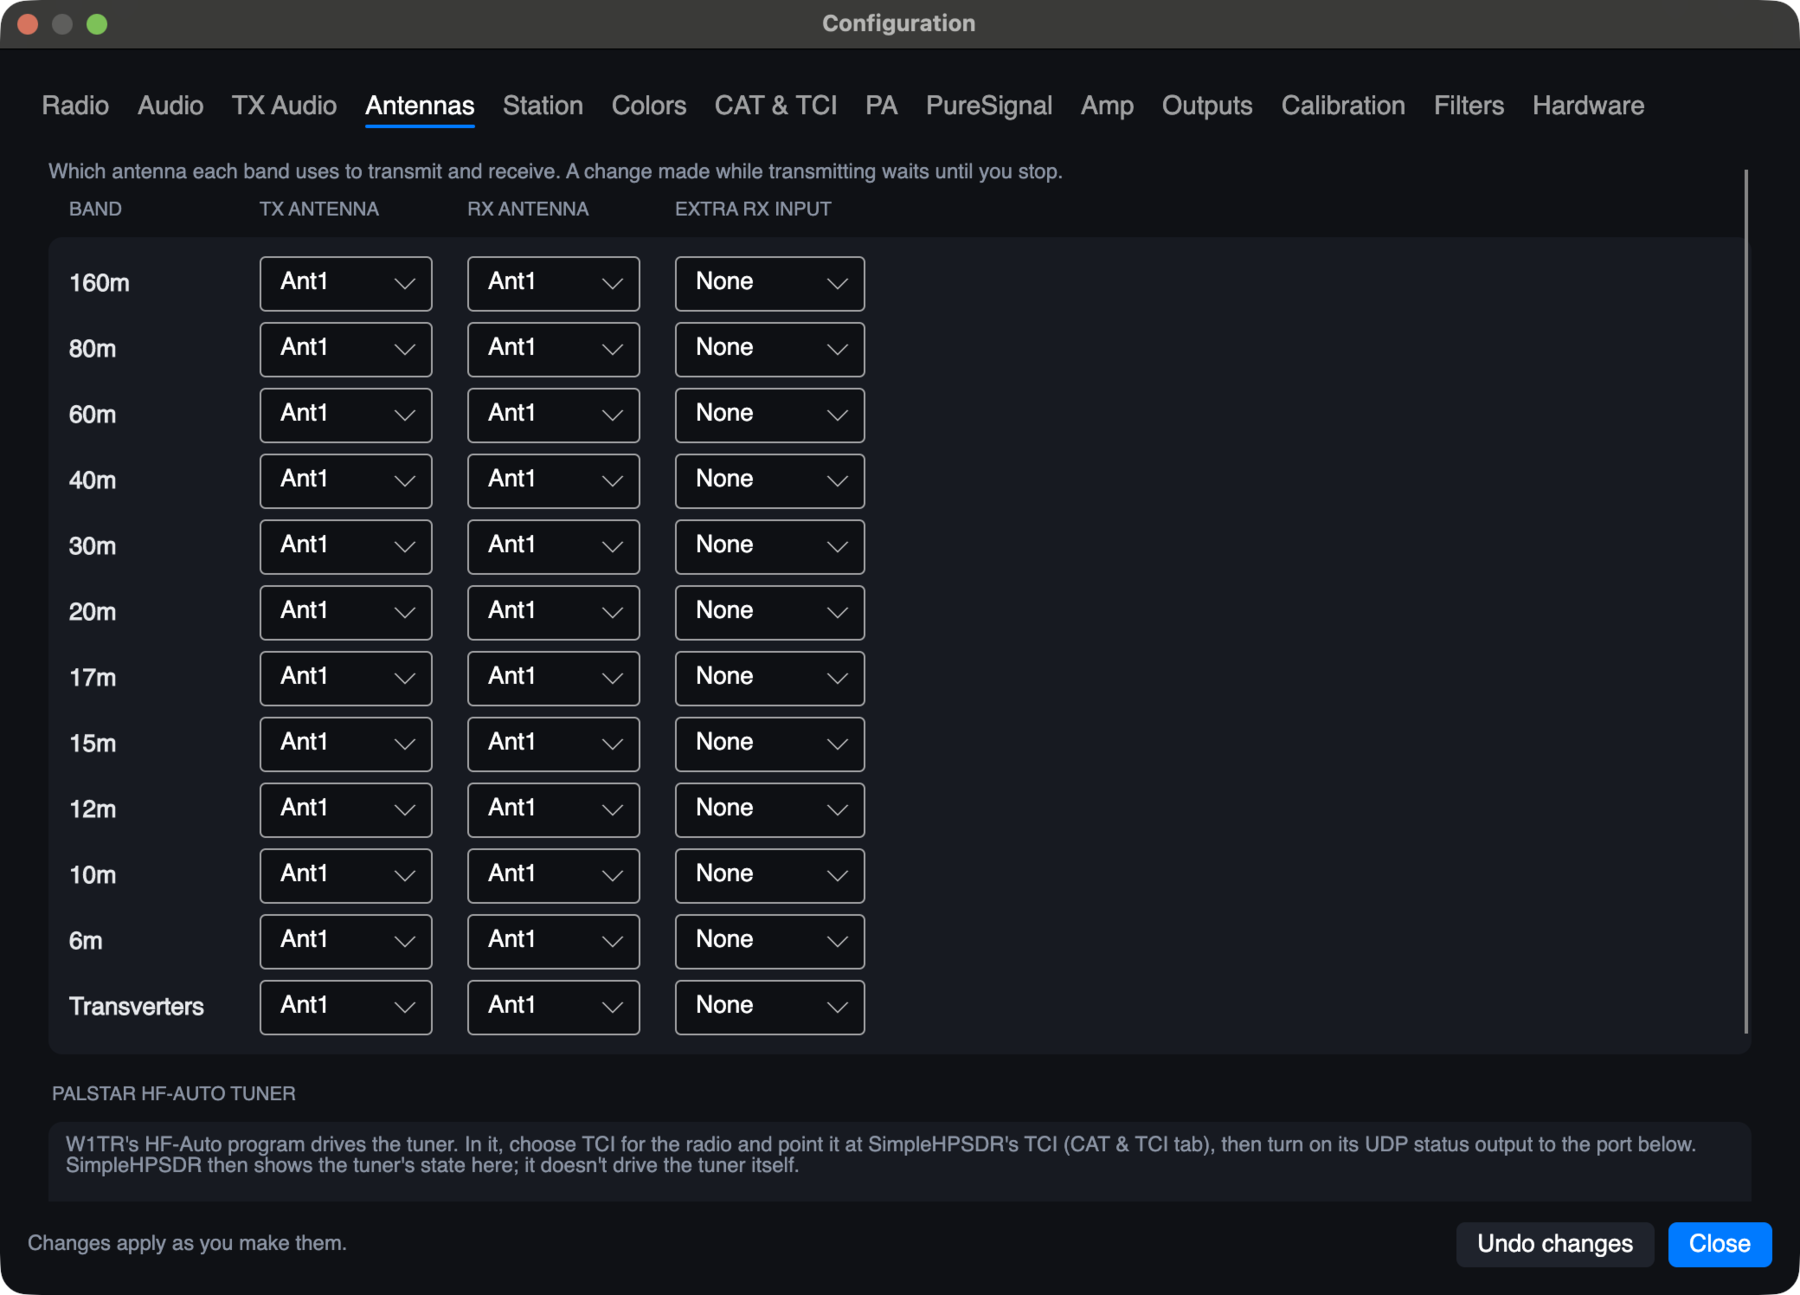
Which antenna each band uses to transmit and receive, and any extra receive input. A change made while transmitting waits until you stop. The Ant button under the panadapter sets the same thing for the band you're on.
Palstar HF-AUTO tuner. The lower part of the page shows the tuner's state from W1TR's HF-Auto program: mode, frequency, antenna, L and C, power, SWR, and whether it's tuned. In HF-Auto, choose TCI for the radio and point it at SimpleHPSDR's TCI, and turn on its UDP status output to the port shown here. Tick "Show the HF-AUTO tuner's status". If HF-Auto runs on another computer, give its address and press Apply. HF-Auto still does the tuning.
Station
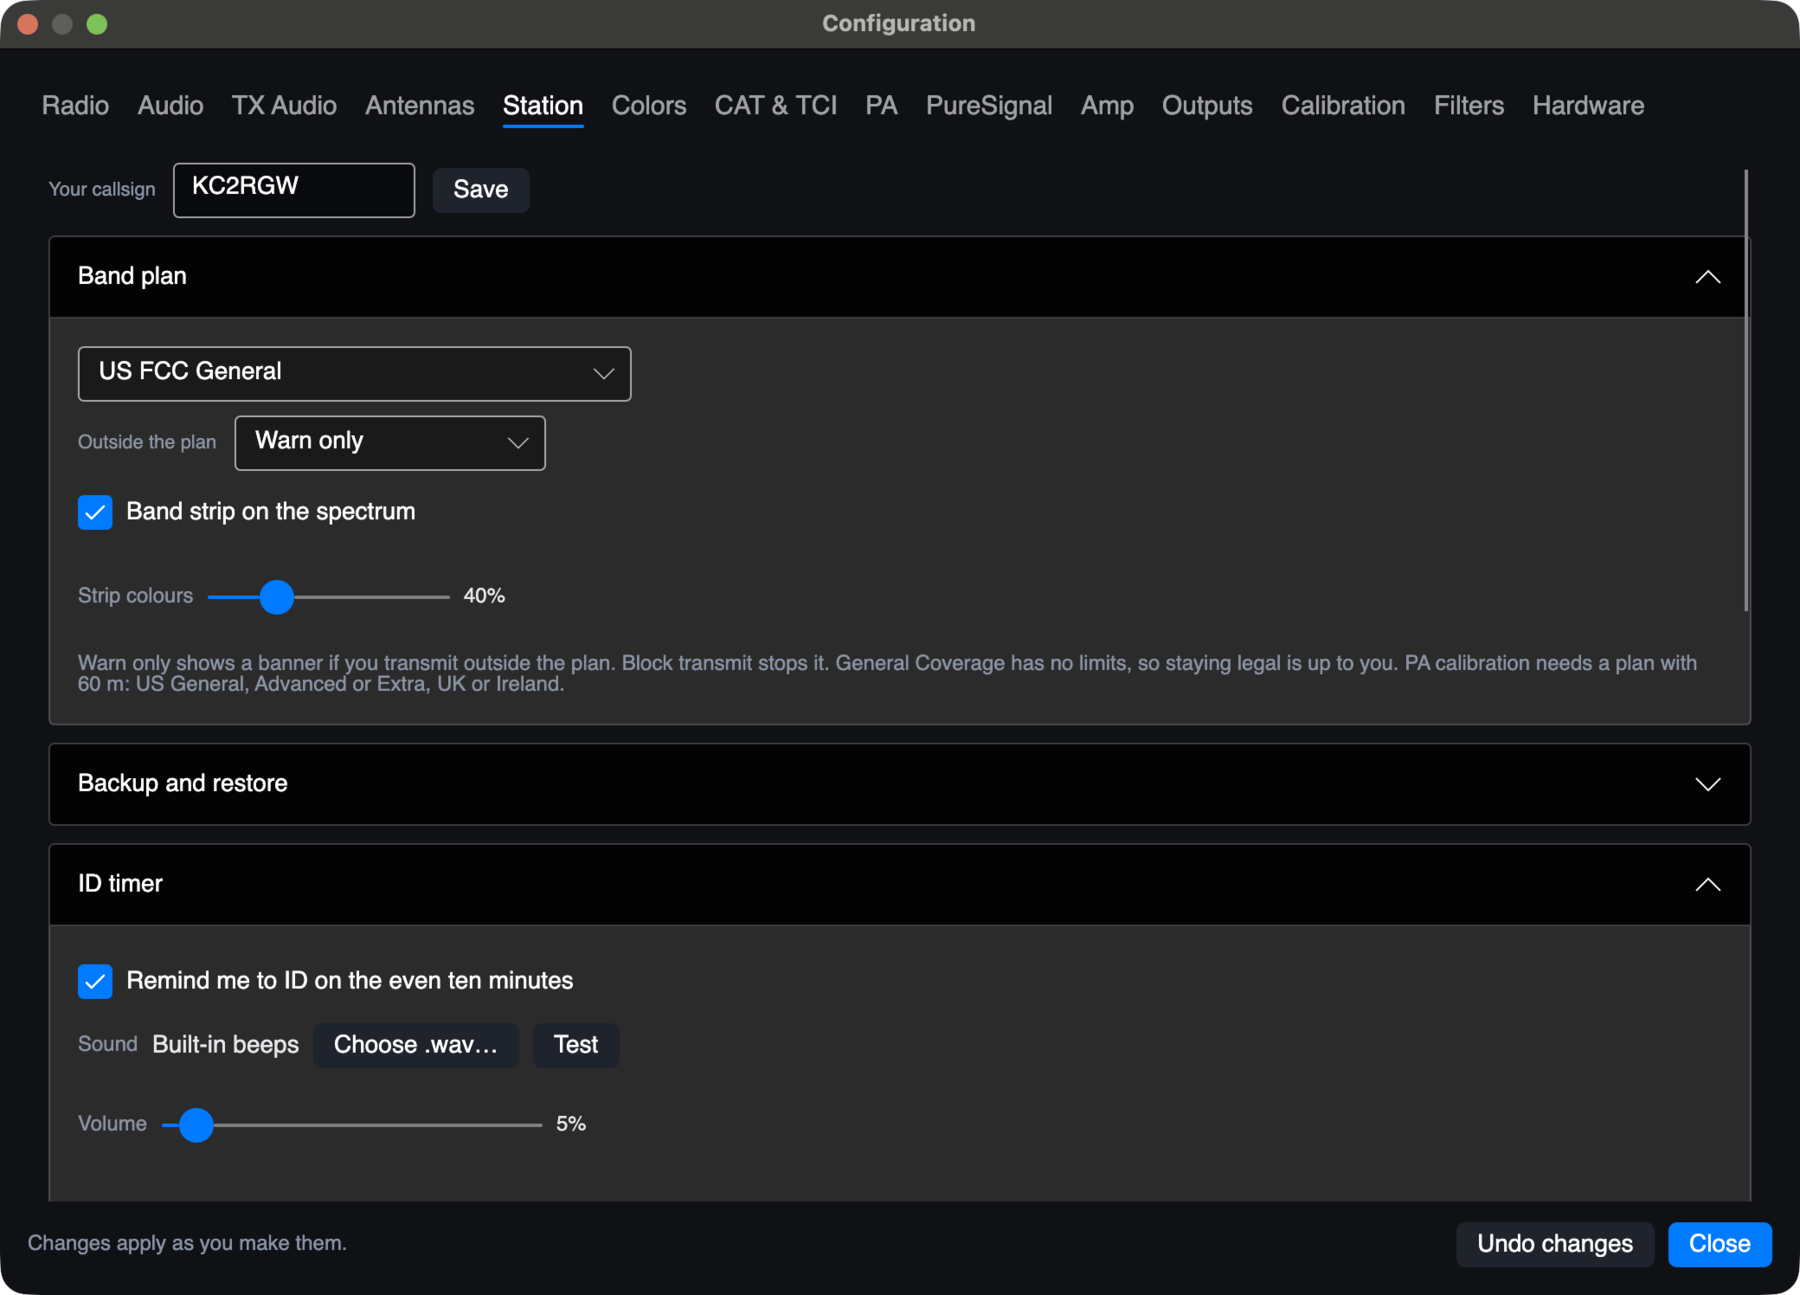
| Your callsign | Sent by FreeDV at the end of each transmission, and used by the CW ID. Type it and press Enter or Save. |
| Band plan | The band edges for your region or licence class, or General Coverage for no restrictions. Outside the plan: Warn only shows a banner if you transmit outside the plan; Block transmit stops it. Band strip on the spectrum turns the strip on or off, and Strip colours makes it fainter. PA calibration also uses the plan; in General Coverage that's the last plan you chose. |
| Backup and restore | Back up… saves all your settings to one file: radio settings, band memories, PA calibration, filters, Mem memories, colours and TX profiles. Restore… replaces your settings with a backup's and restarts SimpleHPSDR. PureSignal's calibration isn't included; it learns again within seconds. |
| ID timer | The reminder to ID on the even ten minutes: its sound (the built-in beeps or your own .wav), volume and a Test button. Also the automatic CW ID: its speed (20 WPM at most), tone, level and interval. See Clock and ID timer. |
| Waterfall while transmitting | While you transmit, the waterfall shows your own signal, so you can see how evenly your audio fills the filter. This sets the range below the peak. |
| PTT | The radio's PTT input, or a foot switch on a serial port (CTS or DSR). Both can be turned off. If the serial line is already active when you turn Serial PTT switch on, the radio can key at once, so have an antenna or dummy load connected. |
| Diversity | Combines the two receive inputs, with gain and phase. Needs an antenna on each receive input. |
| Transverters | For VHF and up. LO is the transverter's oscillator; From and To are the band you operate on; RX GAIN corrects the S-meter for the transverter's gain. Each one you turn on gets its own band button, and the frequency shows the band you're really on. |
Colors
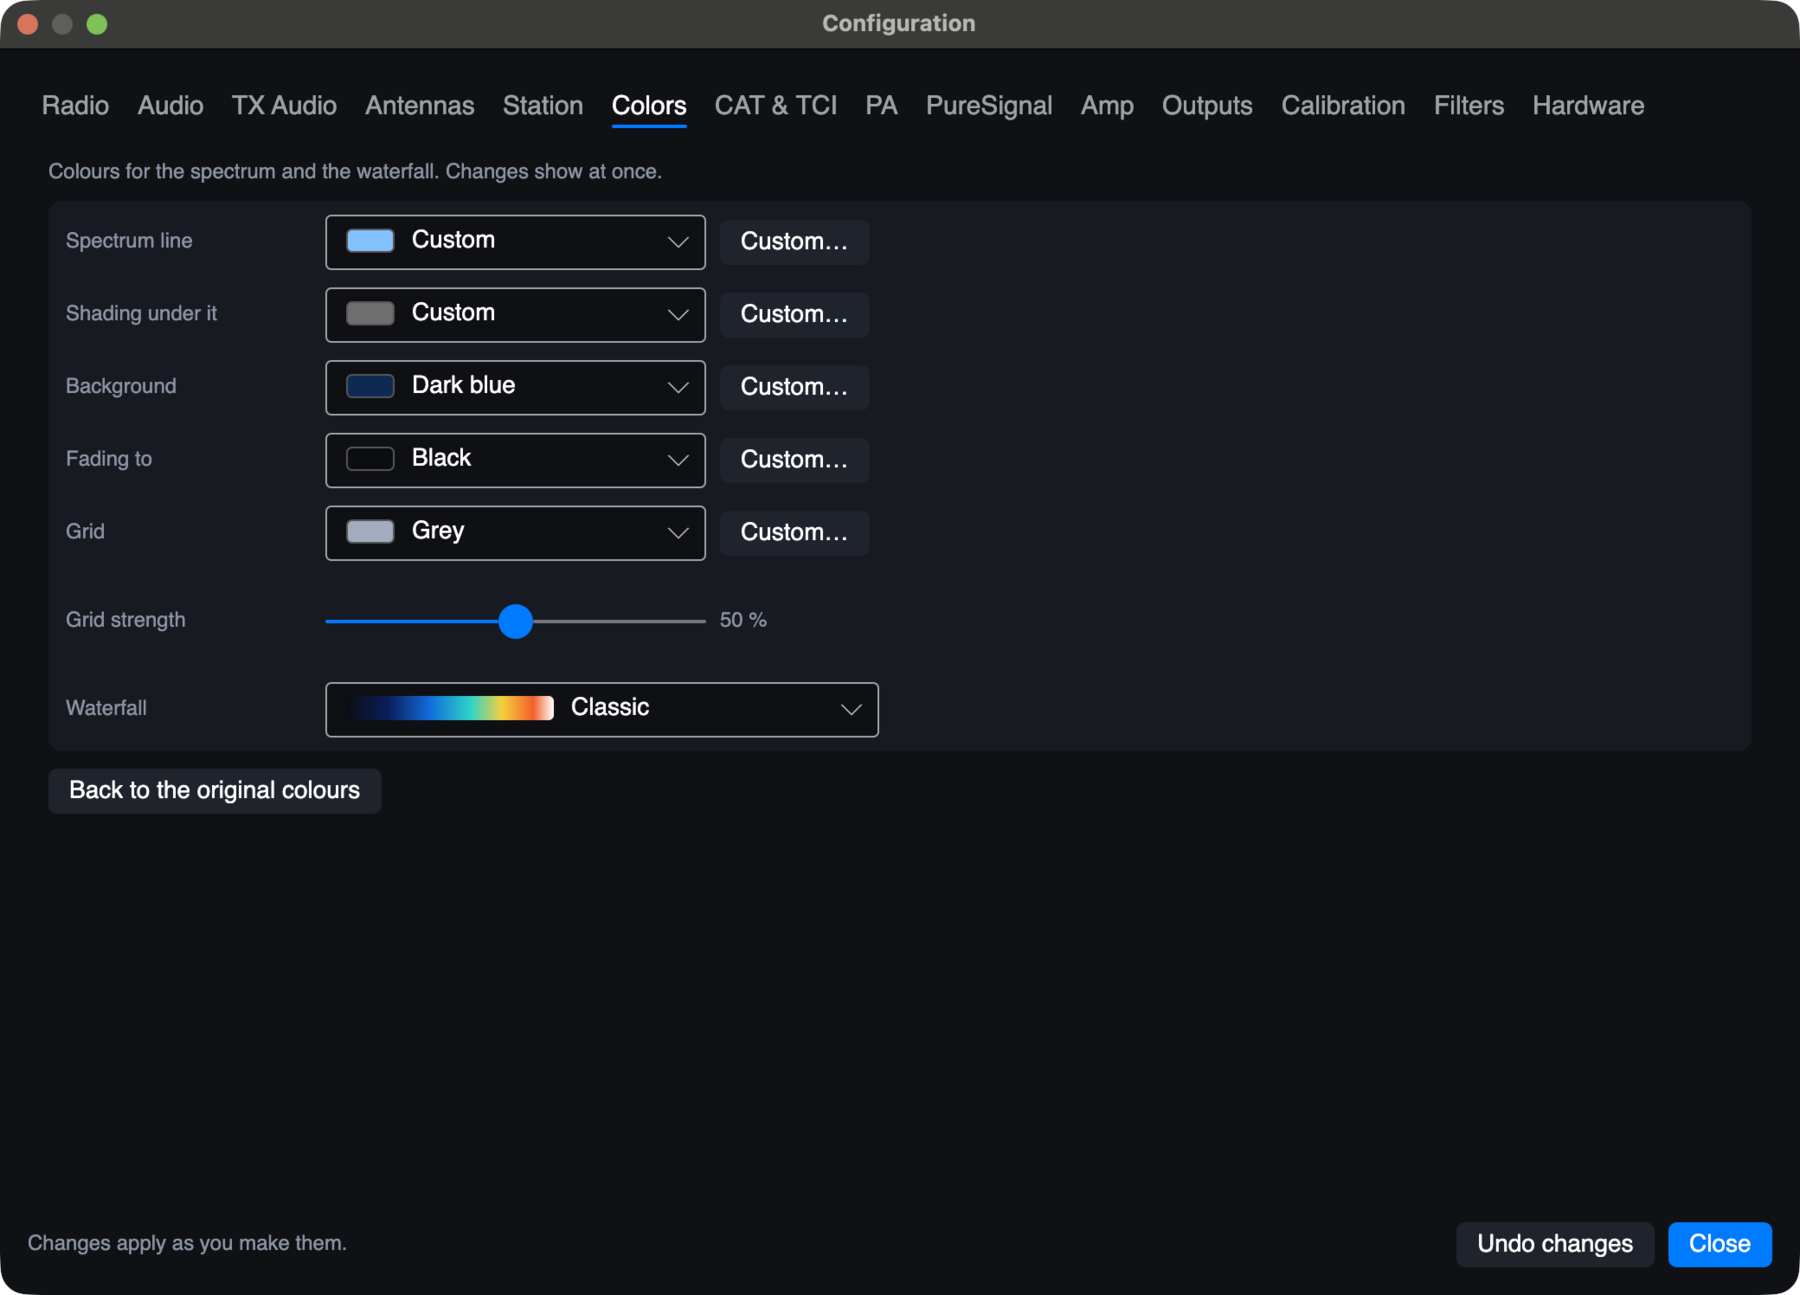
Colours for the spectrum and the waterfall. Changes show at once.
- Spectrum line and the shading under it.
- Background, plain or fading to a second colour.
- Grid colour and Grid strength.
- Waterfall: the colour scheme.
- Custom… beside each colour picks any colour you like.
- Back to the original colours undoes it all.
CAT & TCI
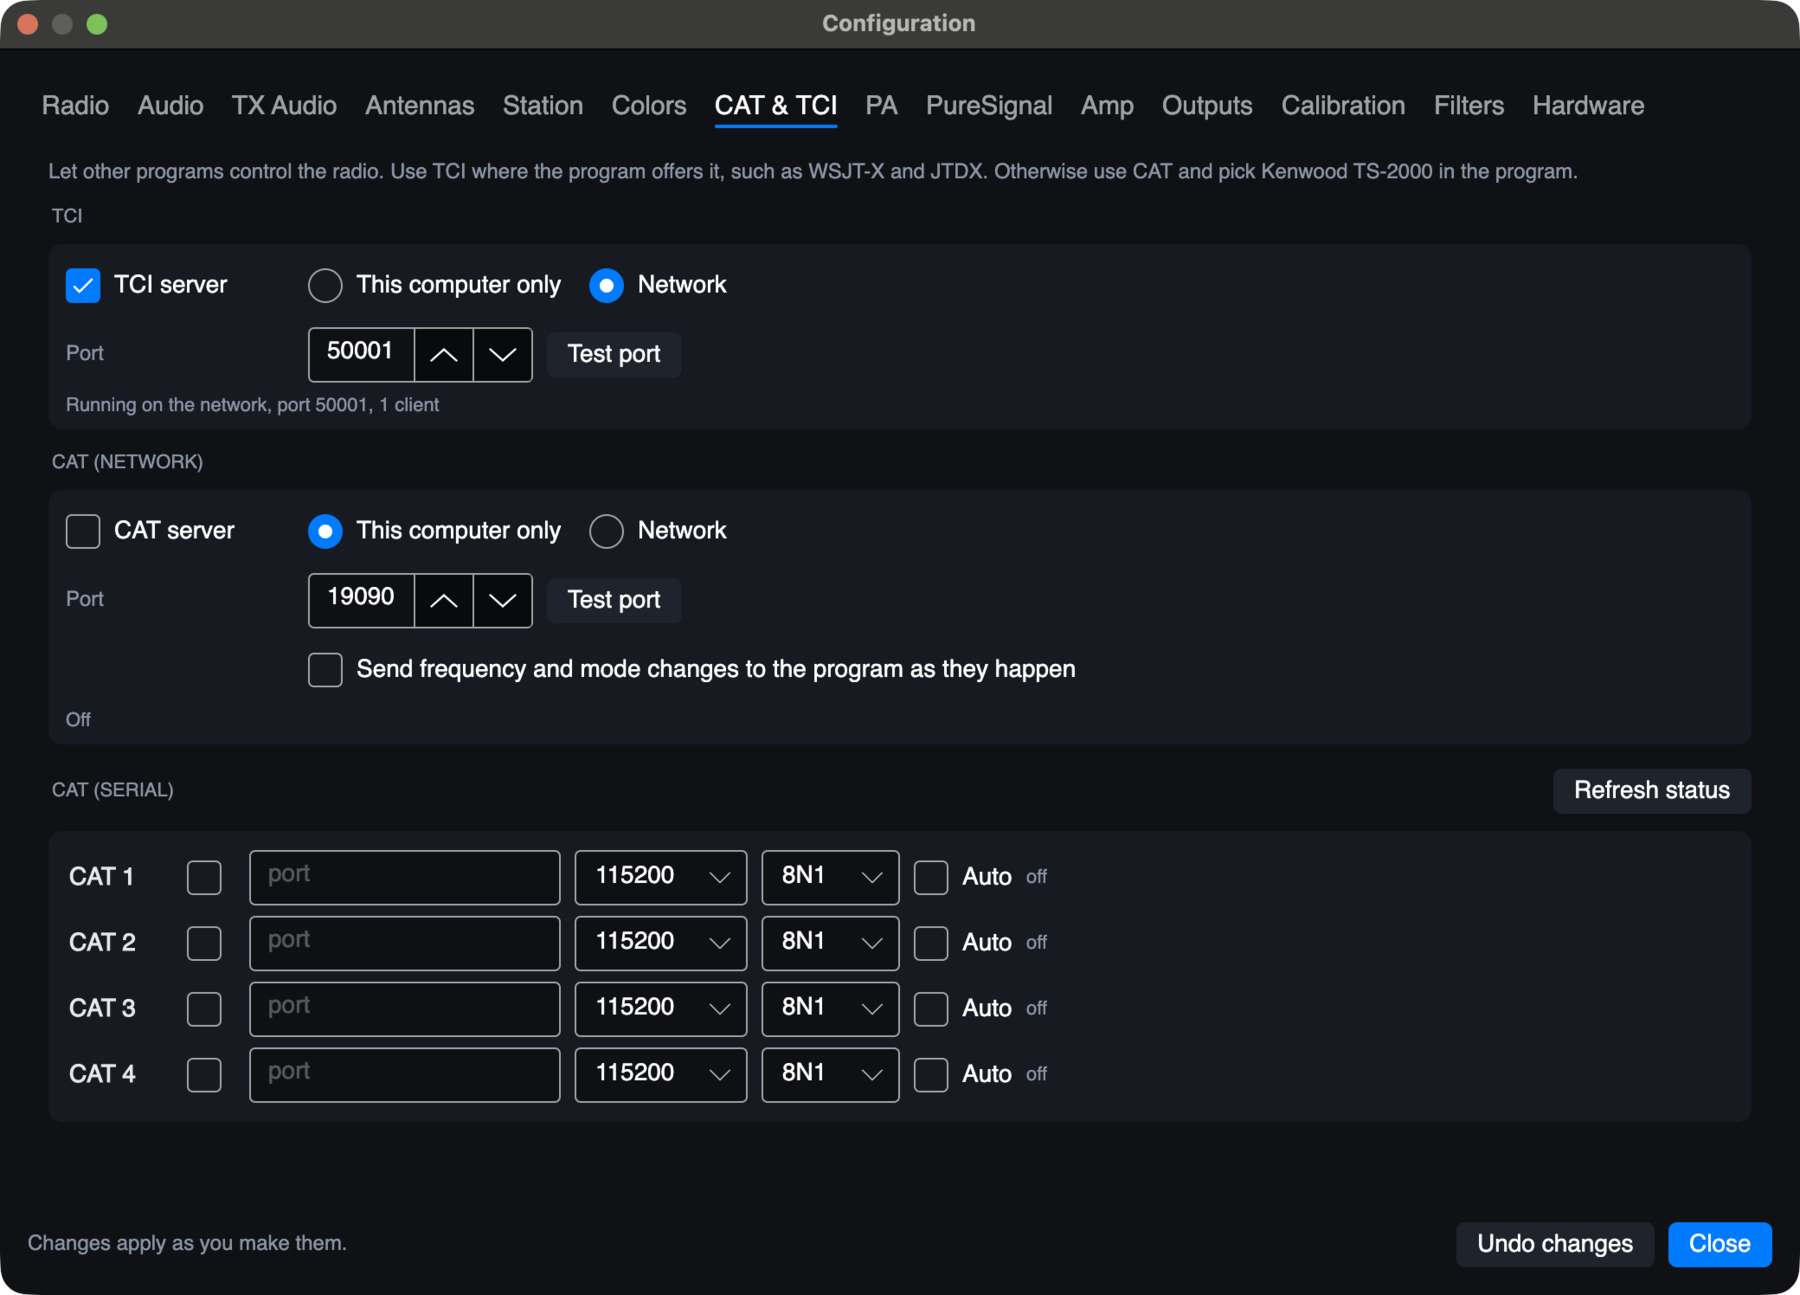
Lets other programs control the radio. Use TCI where the program offers it, such as WSJT-X and JTDX. Otherwise use CAT and pick Kenwood TS-2000 in the program. Other software has the details.
- TCI server and CAT server each have a port and a Test port button.
- This computer only keeps a server private. Choose Network only if another computer needs it.
- Send frequency and mode changes to the program as they happen is for CAT programs that expect it.
- CAT (serial) has four ports, each with its speed and format.
The TCI server is also needed by the DeepCW decoder, keyboard CW keying, DRM and the HF-AUTO tuner status.
PA
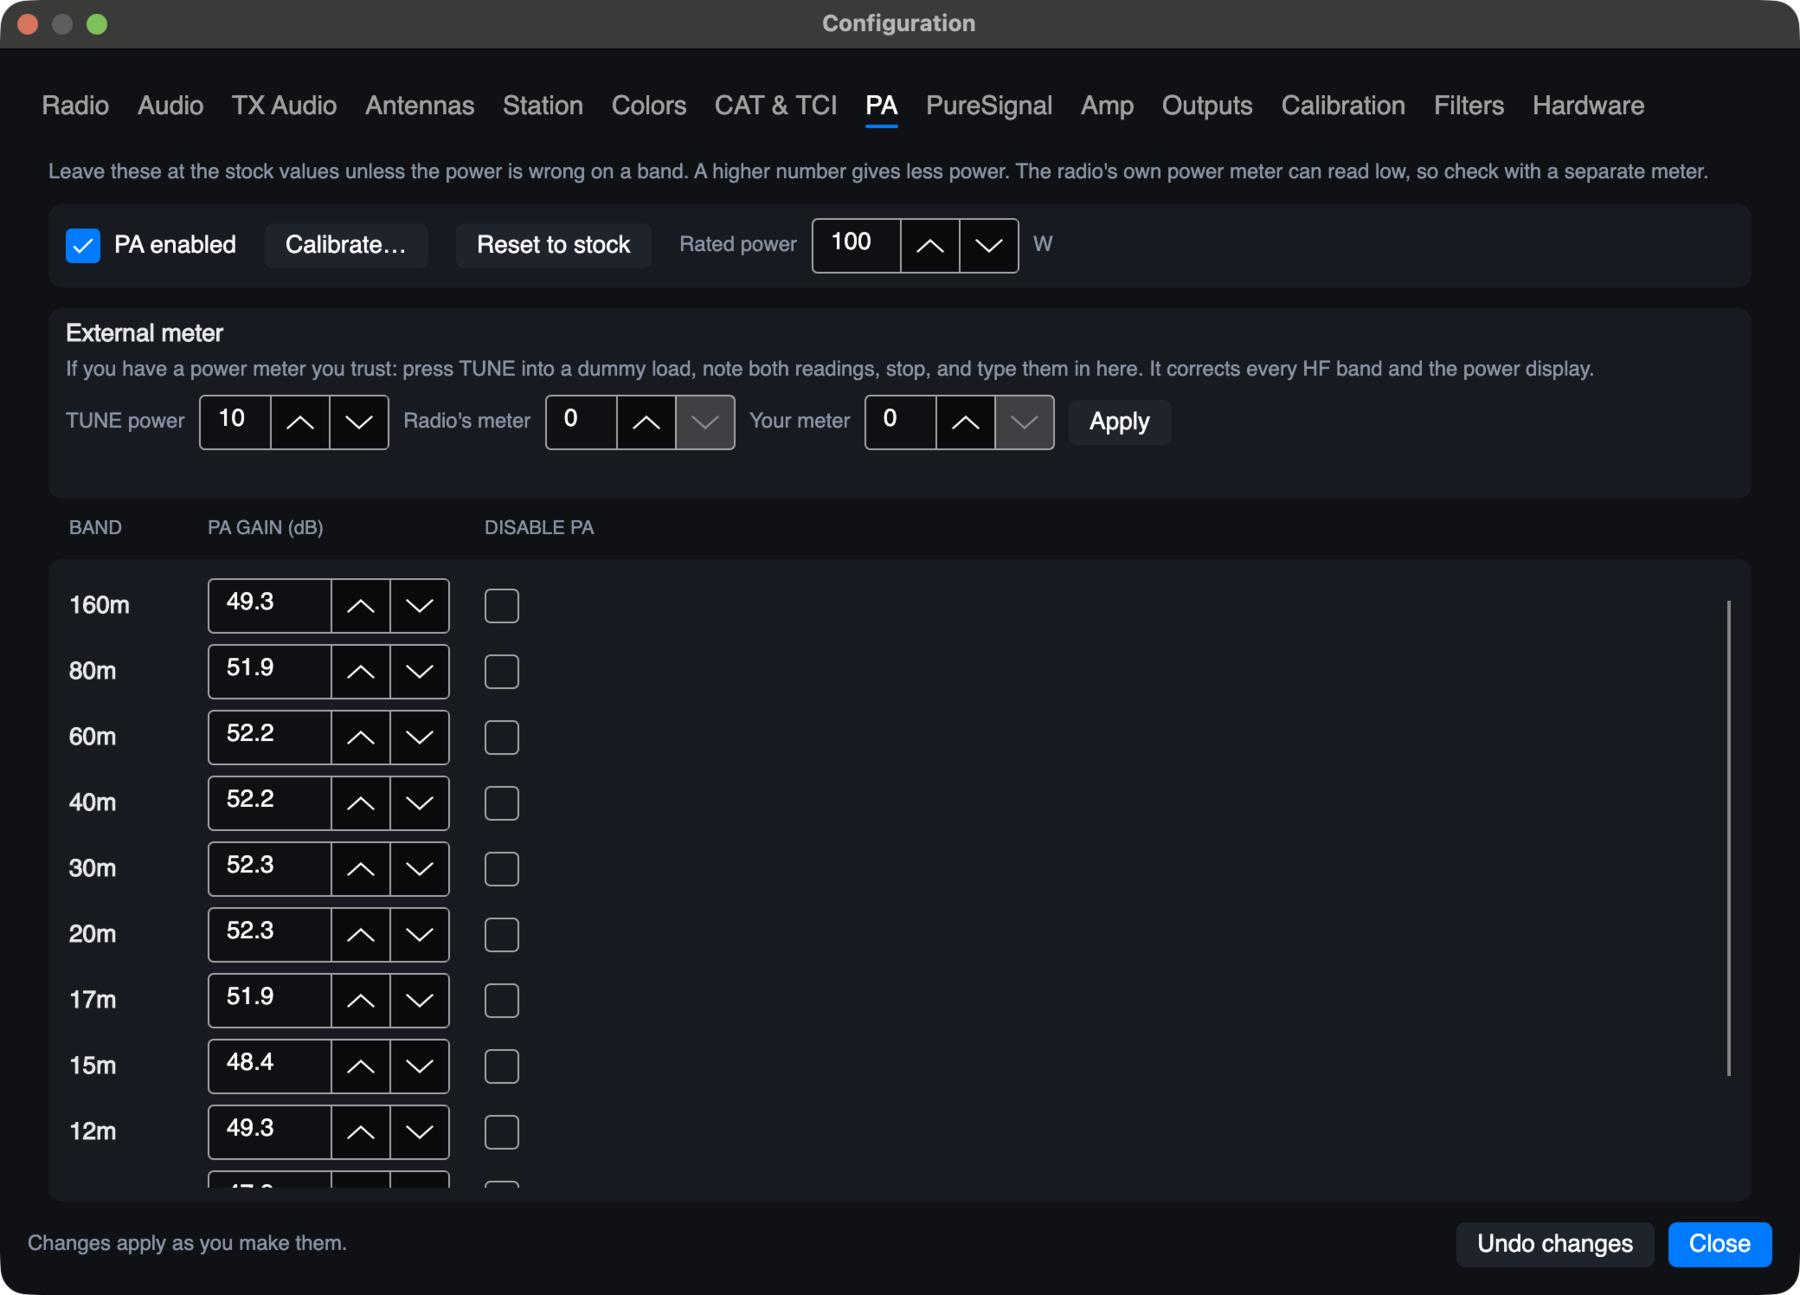
Leave these at the stock values unless the power is wrong on a band.
- Rated power: leave it at your radio's real figure. Output is Rated power × the DRIVE or TUNE percentage.
- PA gain, for each band, sets how hard the radio is driven. A higher number gives less power. Disable PA means low power only on that band.
- Reset to stock puts the gains back at any time, and also clears any calibration and PWR correction.
Correcting power with an external meter
If you have a meter you trust, this puts real output and the PWR display right.
- Key TUNE into a dummy load, at 10 W for example.
- Note what TUNE is set to, what PWR reads, and what your meter reads, then unkey.
- Enter them under External meter and press Apply.
Apply shifts every HF band by the gap between what you asked for and what your meter read, and corrects the PWR display by the gap between PWR and your meter. Then check at a higher power. Run PS CAL again afterwards, since drive has changed.
Calibrating with the radio's meter
Calibrate… evens out the bands automatically, using the radio's own power meter.
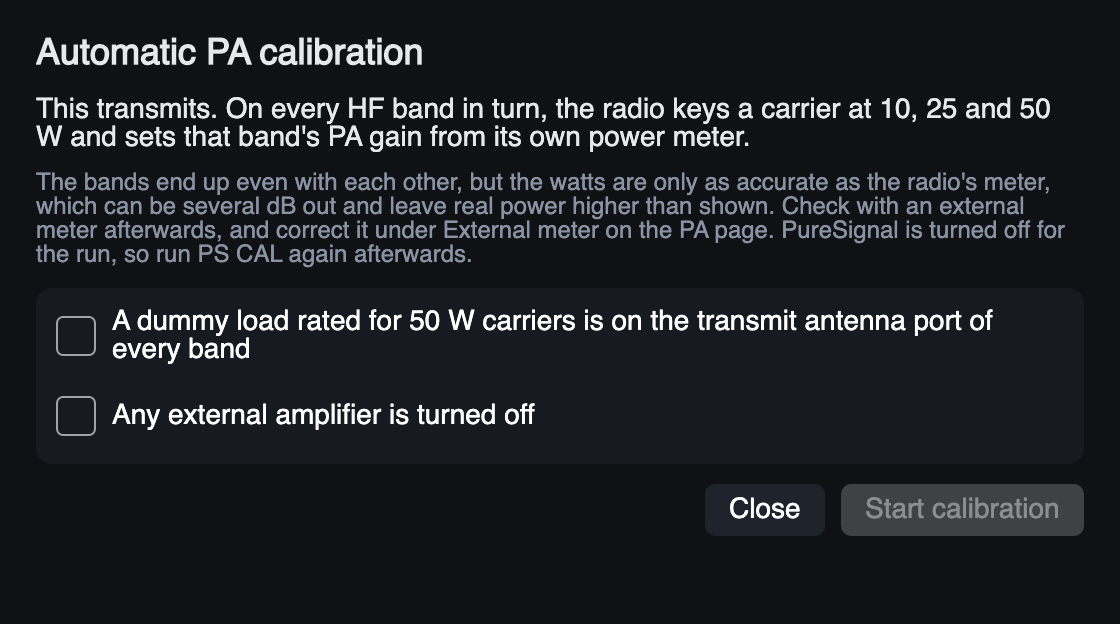
- Connect a dummy load rated for 50 W carriers to the transmit antenna port of every band.
- Turn off any external amplifier.
- Press Calibrate…, tick both confirmations and press Start calibration.
The radio keys a carrier at 10, 25 and 50 W on each HF band in turn. Stop ends it at any time and puts the settings back. If only some bands pass, you choose whether to keep those.
Calibrate uses the radio's own power meter, so the bands end up even with each other, but that meter can be several dB out, which can leave real power well above what's shown. On radios where the meter reads several dB low, skip Calibrate and use the stock gains with the external meter steps above.
Calibrate needs a band plan with every HF band including 60 m. Run PS CAL again afterwards, since PureSignal is turned off for the run.
PureSignal
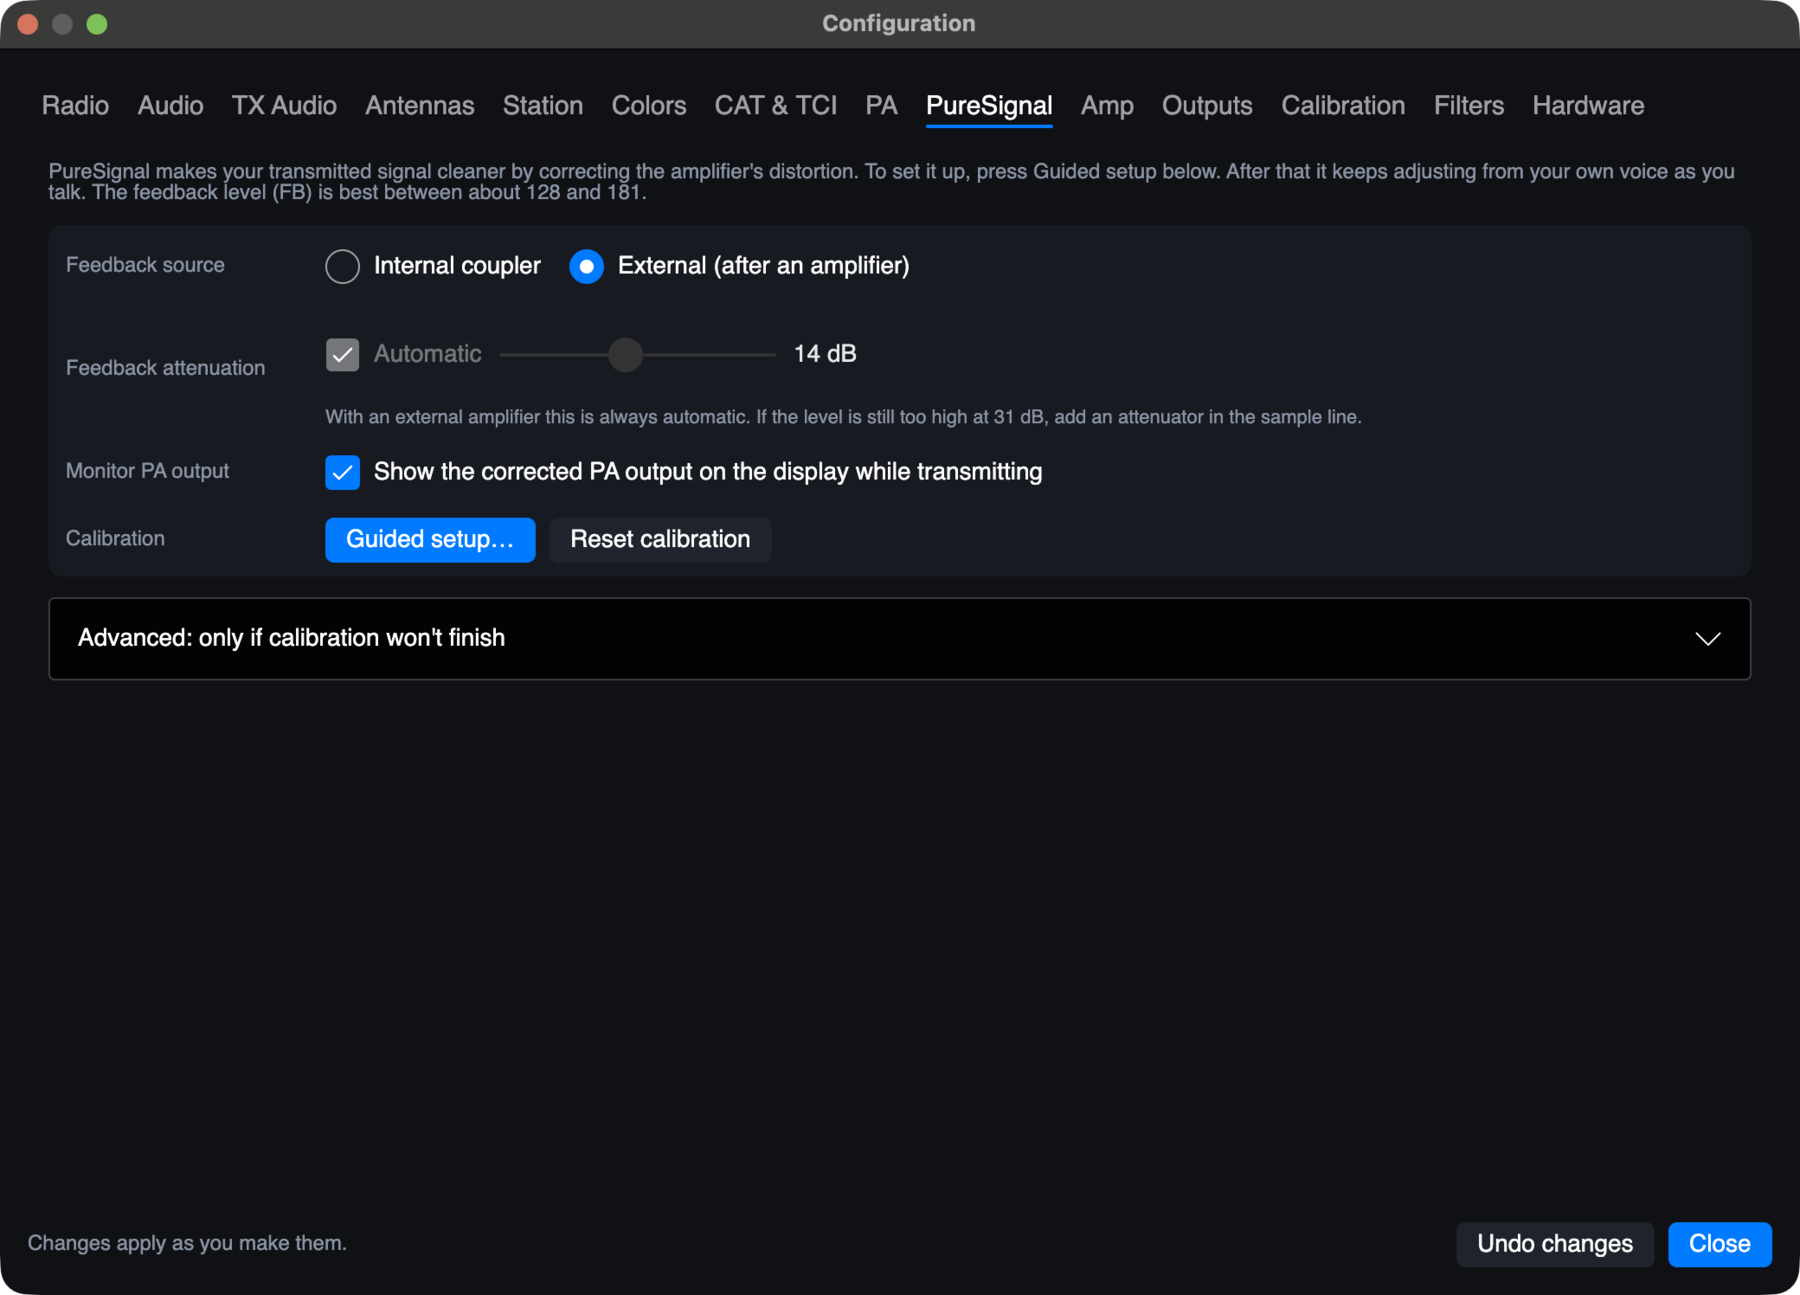
- Feedback source: the radio's internal coupler, or External, a sample taken after an amplifier.
- Feedback attenuation: with an external amplifier this is always automatic. If the level is still too high at 31 dB, add an attenuator in the sample line.
- Monitor PA output shows the corrected PA output on the display while transmitting.
- Guided setup… runs the setup again. Reset calibration forgets the correction, including those saved for each band.
- Advanced is only for when calibration won't finish.
Amp
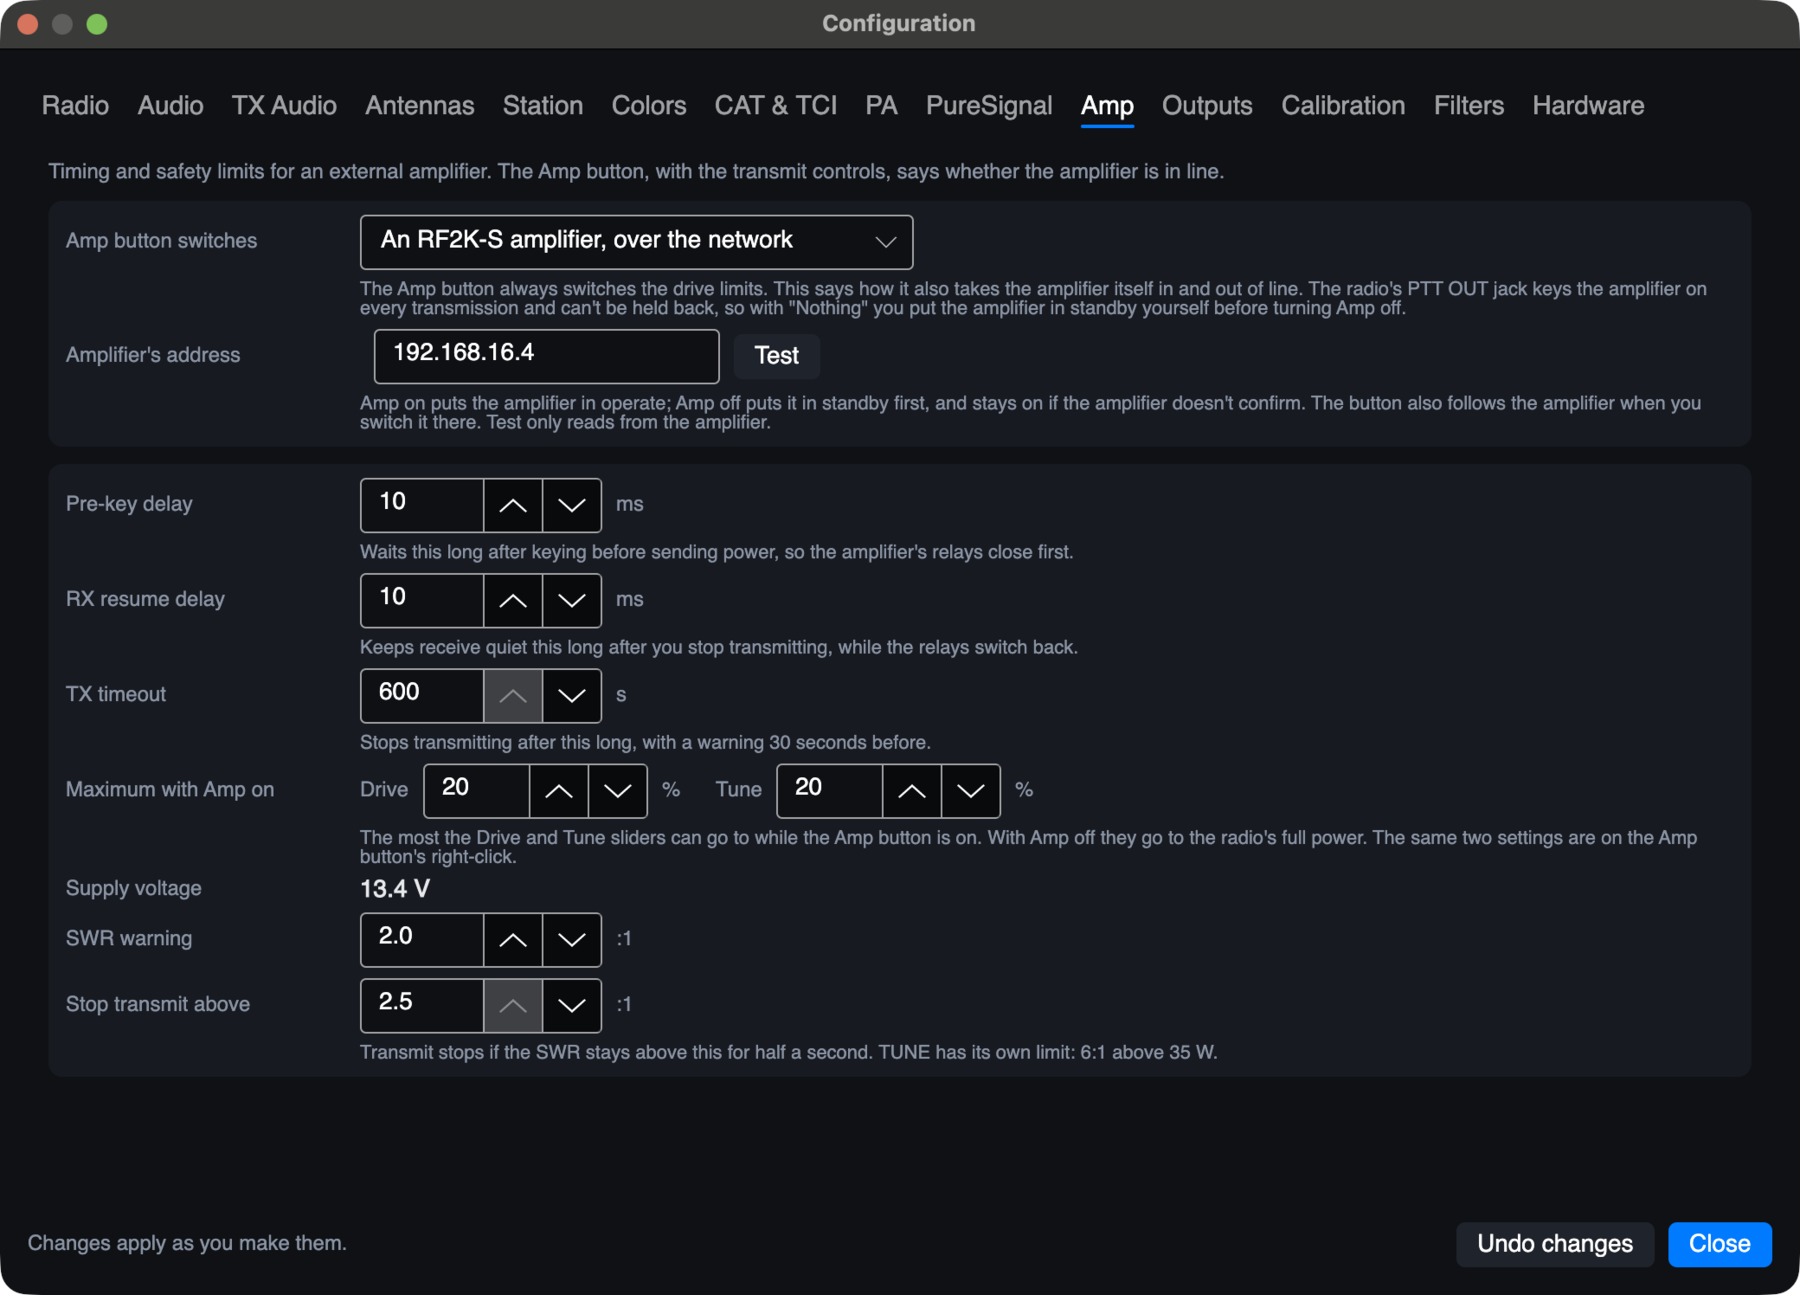
Timing and safety limits, mostly for an external amplifier.
| Amp button switches | What the Amp button switches besides the drive limits: nothing, one of the radio's outputs, or an RF2K-S amplifier over the network (give its address). |
| Pre-key delay | Waits this long after keying before sending power, so the amplifier's relays close first. |
| RX resume delay | Keeps receive quiet this long after you stop transmitting, while the relays switch back. It starts at 33 ms. It doesn't protect the amplifier, so a longer setting only delays hearing the other station. |
| TX timeout | Stops transmitting after this long, with a warning 30 seconds before. |
| Maximum with Amp on | The most the Drive and Tune sliders can go to while the Amp button is on. With Amp off they go to the radio's full power. |
| SWR warning | Shows an amber warning at this SWR. |
| Stop transmit above | Transmit stops if the SWR stays above this for half a second. 2.5:1 is the most it can be. TUNE has its own limit: 6:1 above 35 W. |
Outputs
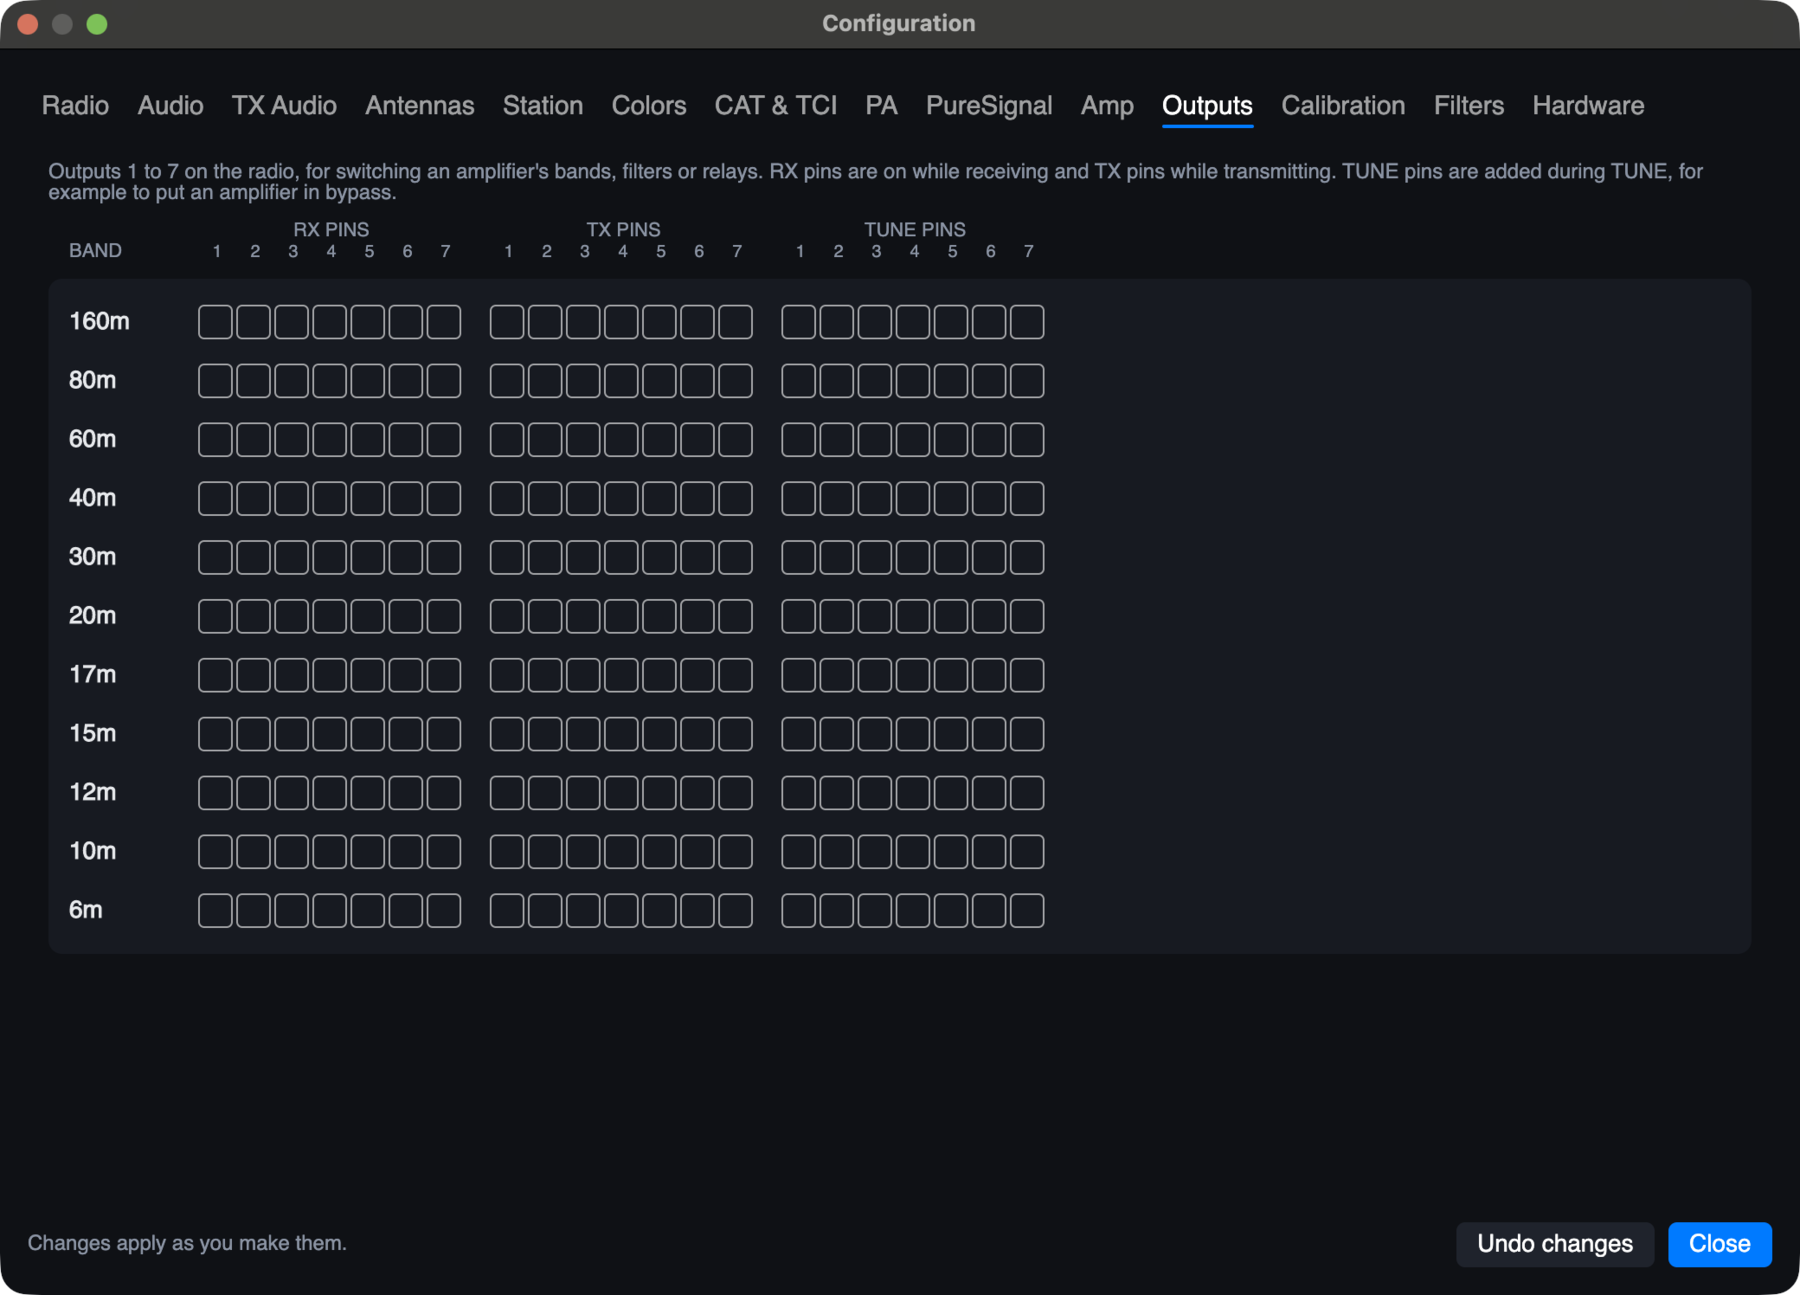
Outputs 1 to 7 on the radio, for switching an amplifier's bands, filters or relays. RX pins are on while receiving and TX pins while transmitting. TUNE pins are added during TUNE, for example to put an amplifier in bypass.
Calibration
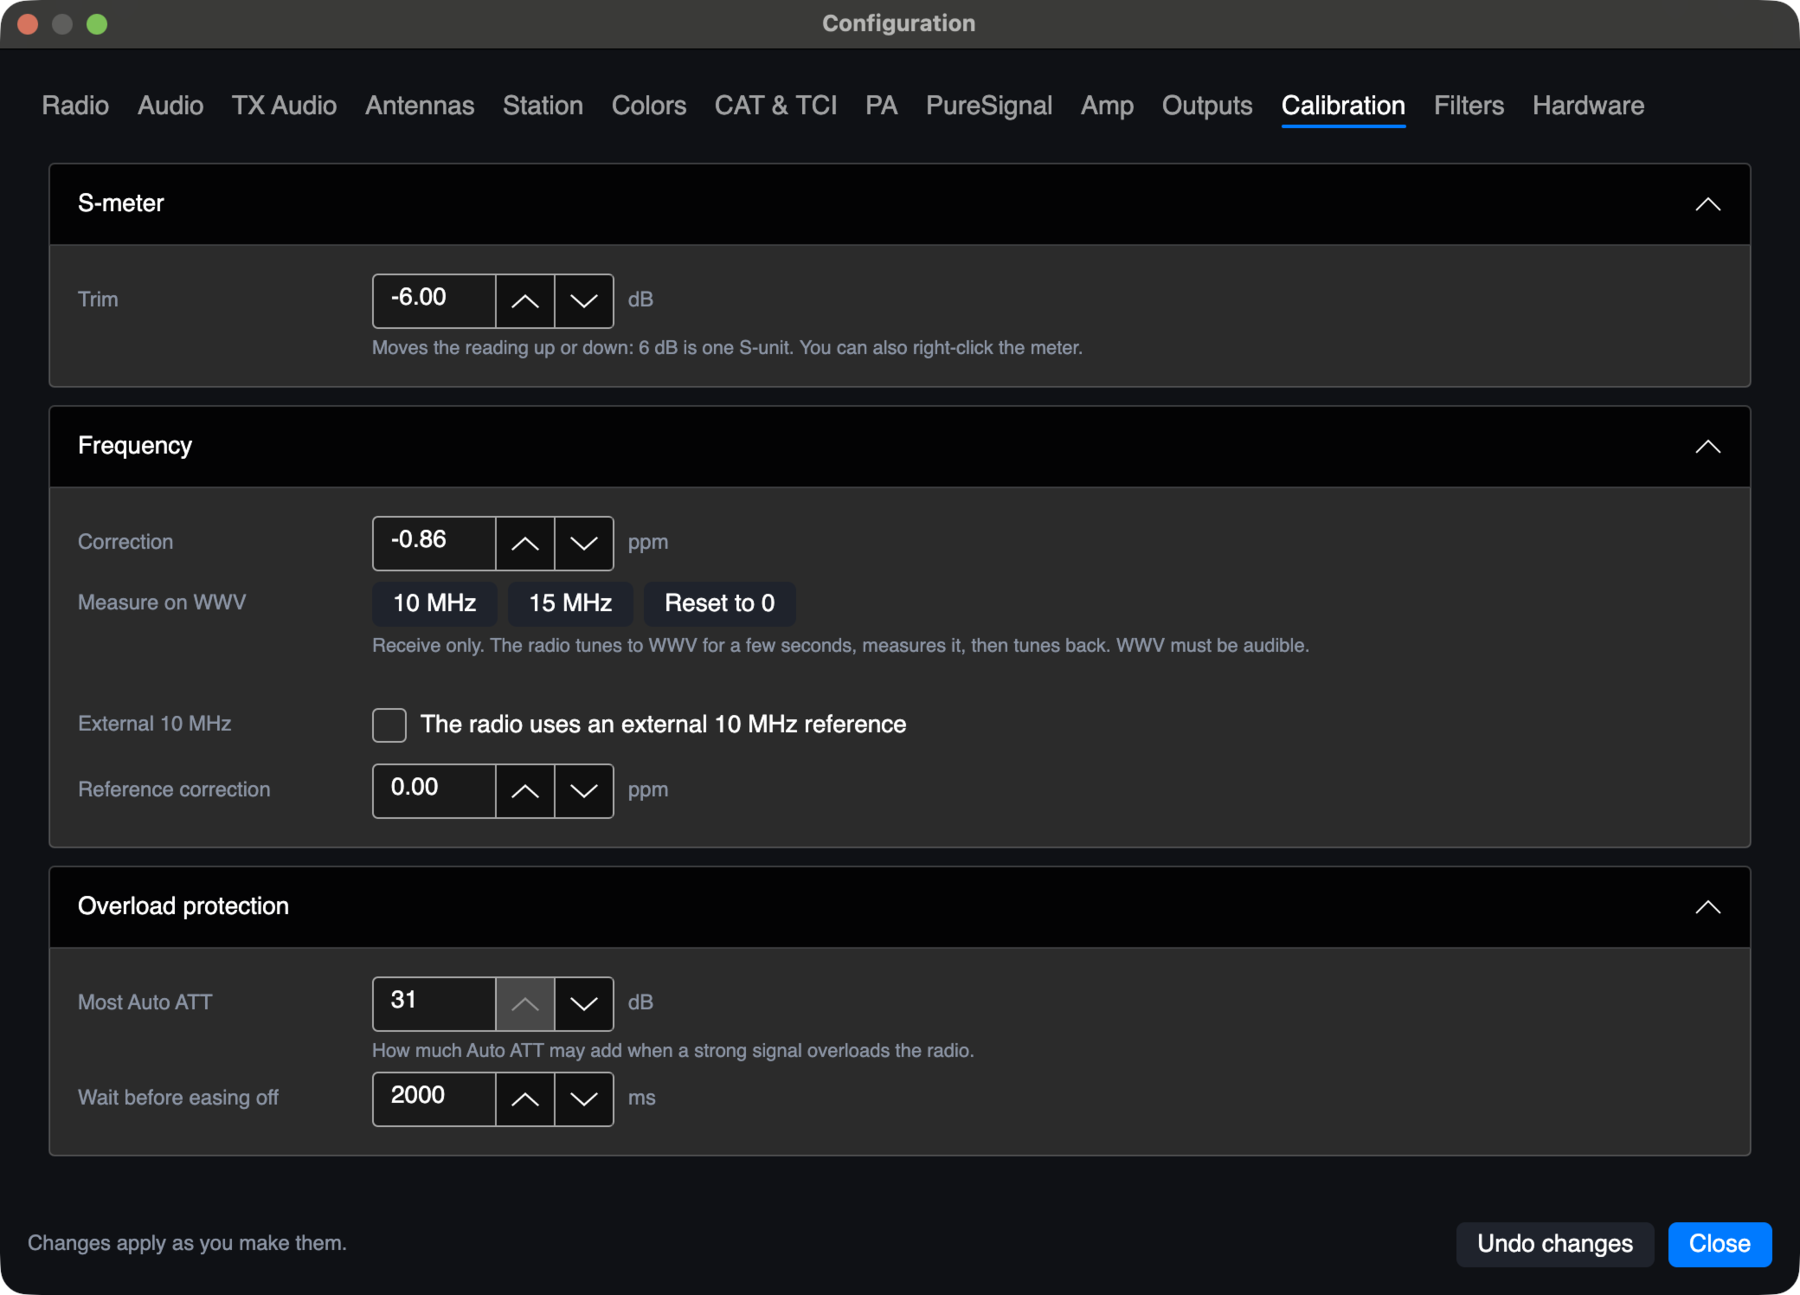
- S-meter trim moves the reading up or down: 6 dB is one S-unit. You can also right-click the meter.
- Frequency correction, in ppm. 10 MHz or 15 MHz measures it on WWV: receive only, the radio tunes to WWV for a few seconds, measures it, then tunes back. WWV must be audible.
- External 10 MHz: tick it if the radio uses an external 10 MHz reference, with its own correction.
- Overload protection: how much attenuation Auto ATT may add when a strong signal overloads the radio, and how long it waits before easing off.
Filters
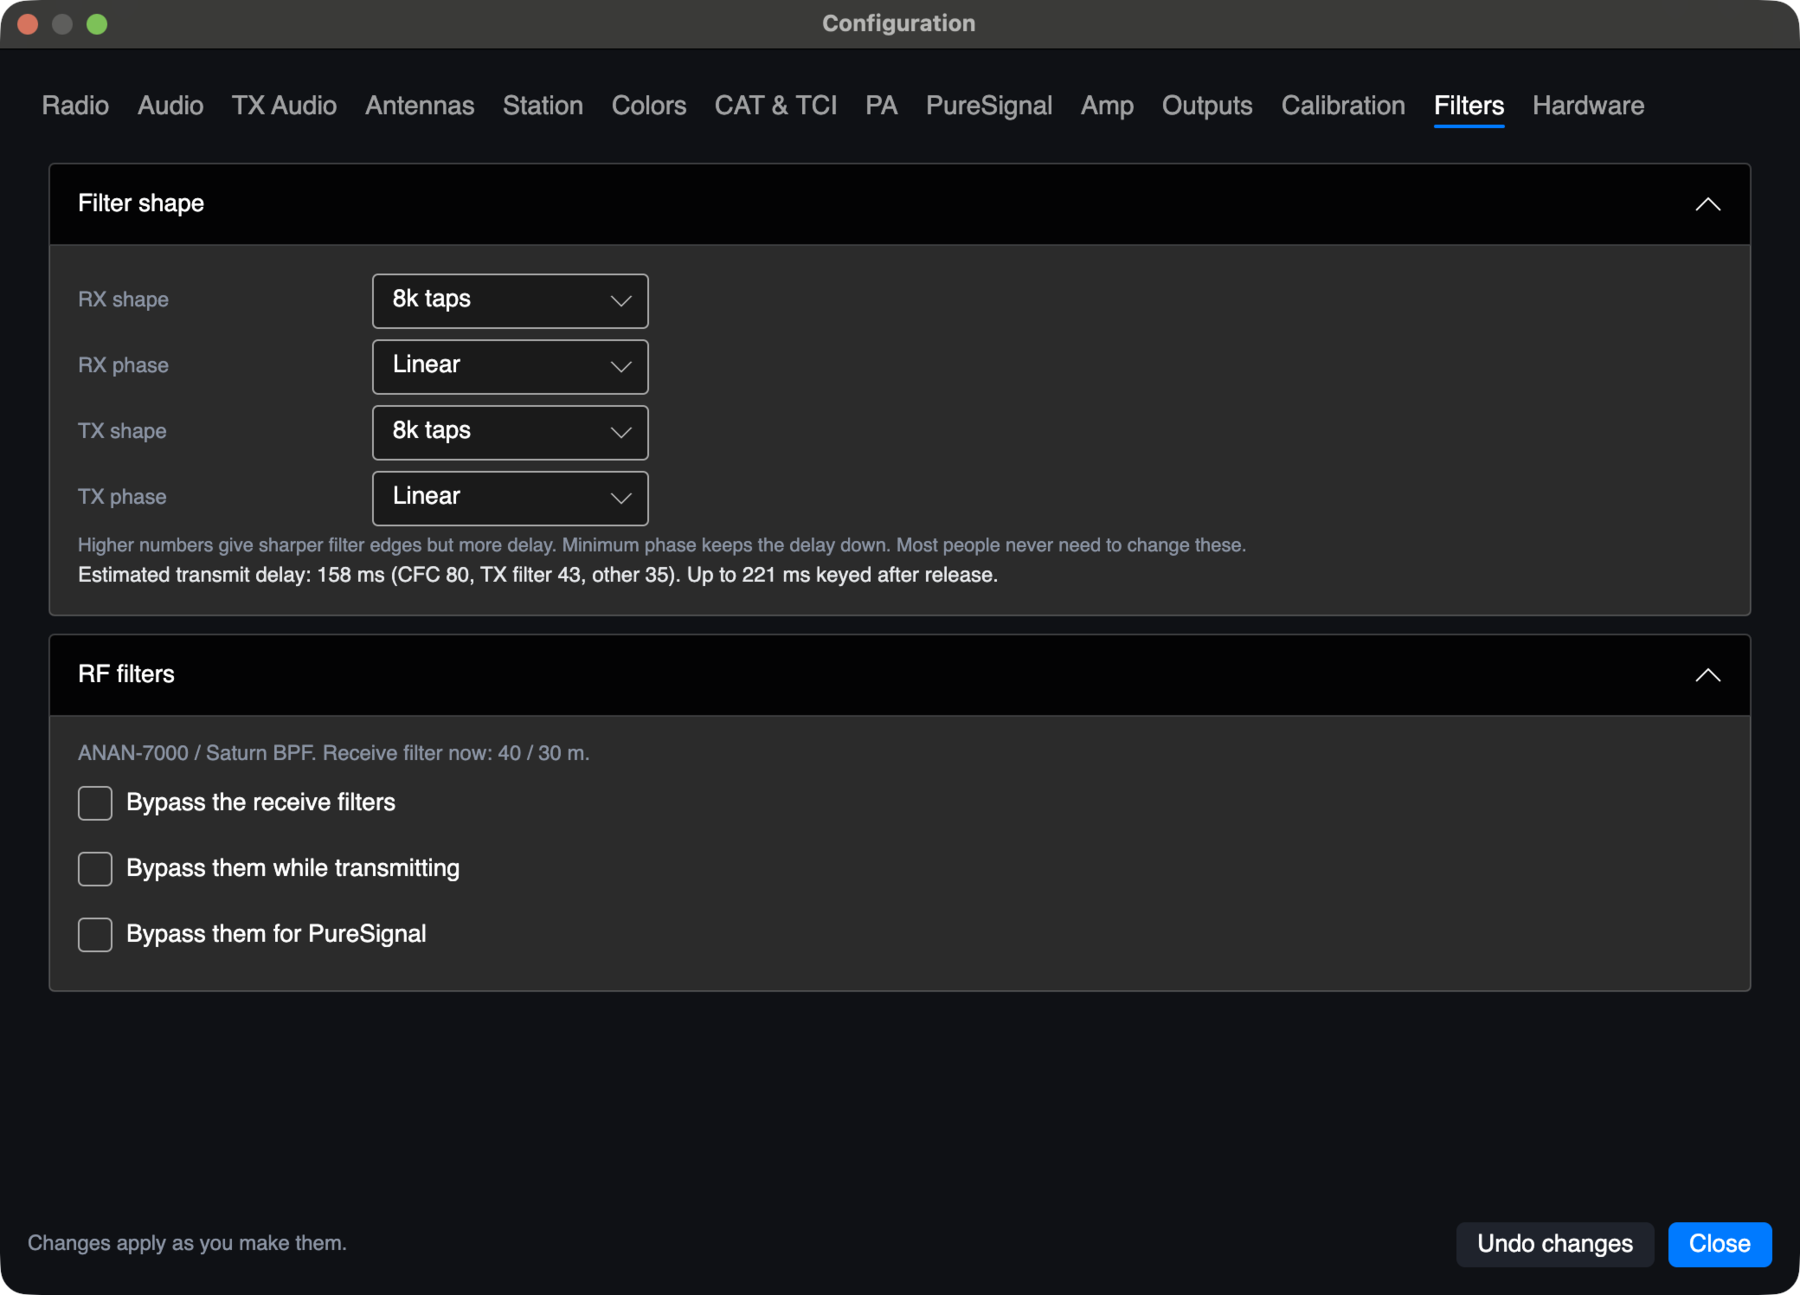
- Filter shape sets how steep the filters are, as a number of filter taps: Soft is 1,000, Normal 2,000 and Sharp 4,000, and the list goes up from there. More taps give steeper edges but add delay and use more computer power.
- Phase: Minimum phase keeps the delay down at high tap counts.
- The TX shape is one of the two biggest transmit delays, and the page shows the estimate as you change it. Most people never need to change these.
- RF filters: bypass the radio's receive filters, bypass them while transmitting, or bypass them for PureSignal.
Hardware
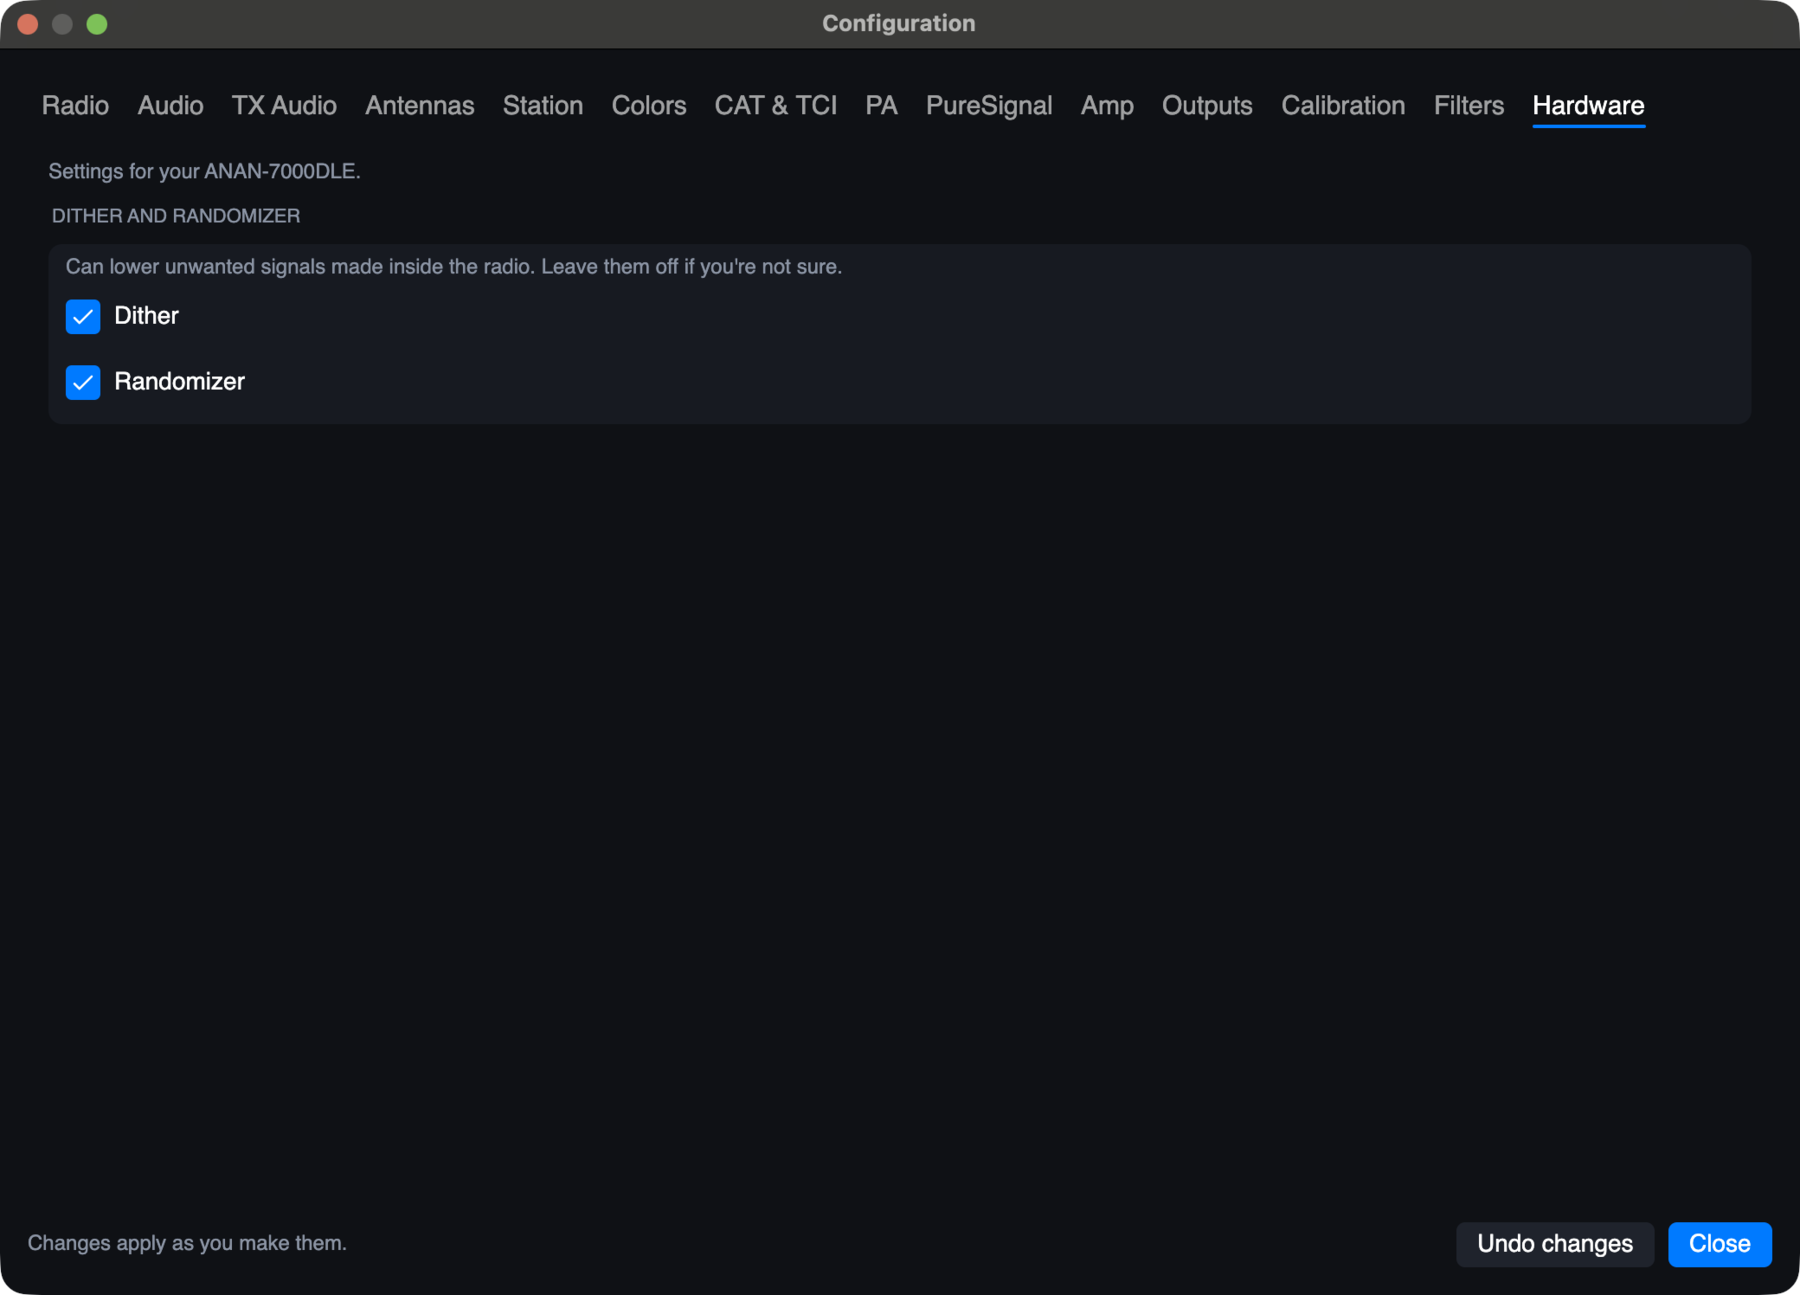
| Dither and randomizer | Can lower unwanted signals made inside the radio. Leave them off if you're not sure. For the ANAN-G2, G2-1K, 7000DLE and 8000DLE, and most radios on Protocol 1. |
| Hermes-Lite 2 | Band volts for an amp that switches bands by voltage, the HL2+ audio codec, and the four user outputs. |
| HL2 IO board (N2ADR) | When one is found: its inputs and any fault, an RX and TX antenna for each band (1 is the board's usual antenna; 2 and up only where your board has more wired), and its antenna tuner: Tune (sends a carrier while the tuner asks for it, 15 seconds at most), Bypass and Stop. |
| ANAN G2 front panel | Whether p2app has connected and which panel it found, and what each knob and button does. See ANAN G2 on its own Pi. |
| Ulanzi Dial (on a Mac) | Turns the dial on, shows whether it is connected, and sets what each button and each of the dial's jobs does. See Ulanzi Dial. |
| Anvelina-PRO3 | The extra outputs 7 to 10 for each band. |