
The second row of the window holds everything that shapes what you hear: the filters, then RFG, AGC, NB, NR, ANF, SQL and RX Lev. Each band and mode remembers its own filter, AGC, NB and NR.
Volume
- The AF slider sets the overall level.
- Mute silences the receiver.
- With two receivers on, AF becomes two sliders with a Pan slider under them. See Two receivers.
Receive EQ
The AF button beside the volume slider is the receive EQ. Click it for on or off (blue is on). Right-click it for ten sliders from 60 Hz to 5 kHz, ±20 dB, that shape what you hear on both receivers: cut the low end to make a weak SSB signal clearer, or lift the treble on a muffled station. Flat puts them all back to 0 dB.
The EQ stays out of DIGU and DIGL so decoding programs get plain audio, and it's remembered between sessions.
Filters
A filter sets how wide a slice of the band you hear. Narrow it to remove a neighbour, and widen it for better audio.
- Choose one: click a filter button. Each mode has its own set, and the highlighted button is the one in use.
- Set the edges: drag the handles in the close-up beside the filters. In USB, LSB and CW there are two: the low and high cuts. In AM, SAM and FM there's one, and both sides move together. The box along the top of the close-up shows the cuts in Hz as you drag.
- Make your own: right-click a filter button to edit its width and label, then Save. Reset to default puts it back.
As a guide: 2.4 to 2.8 kHz for SSB voice, 200 to 500 Hz for CW, 6 to 10 kHz for AM.
A long averaging time in the close-up (right-click it) shows where a voice's energy usually sits, which makes the edges easy to place.
How steep the filters are is set in Config > Filters.
RFG: preamp and attenuator
Click RFG to open the front end.
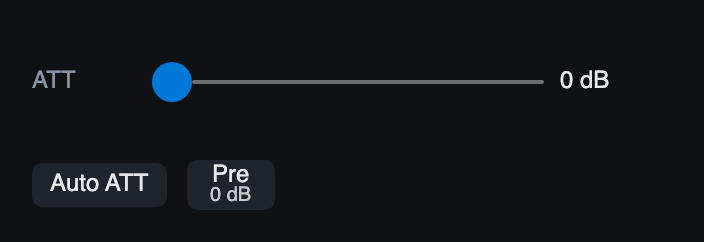
- ATT is the attenuator.
- Pre steps through preamp, 0 dB and 10 to 30 dB of attenuation.
- Auto ATT adds attenuation by itself if the receiver overloads, and is best left on.
On a noisy band, attenuation can improve what you hear: if the noise drops and the signal doesn't, keep it. Too much preamp near strong signals overloads the receiver.
AGC
AGC keeps the audio level steady as signals change. On the AGC button, blue is automatic. Grey is manual, where you choose the speed with the Speed button that appears beside it: slow for steady voice, fast for quick changes such as CW. Off in that list turns AGC off and shows a fixed gain slider instead.
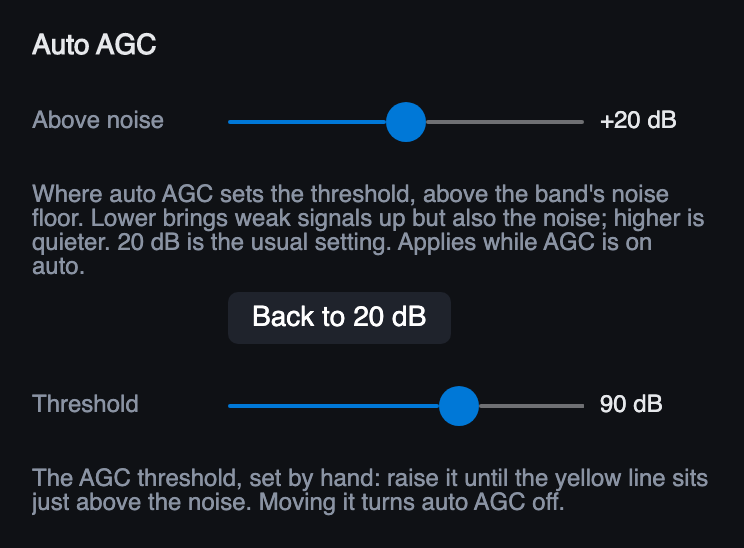
- Above noise is automatic AGC's one setting: how far above the band's noise it puts the threshold. 20 dB is usual. Lower brings weak signals up, along with the noise.
- Threshold is much like RF gain on an analogue radio. Raise it until the yellow line on the panadapter sits just above the noise. Moving it turns automatic AGC off.
Noise tools
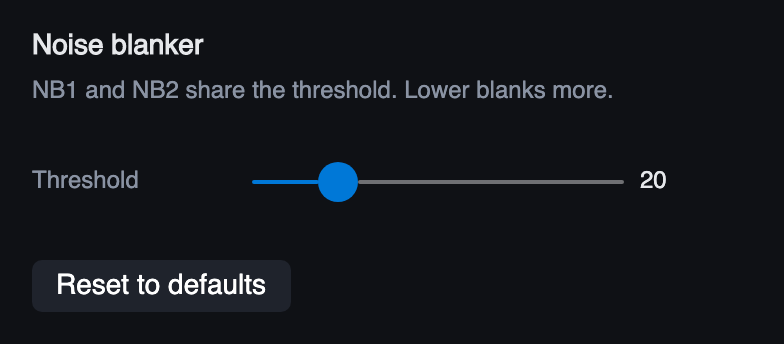
- NB is the noise blanker, for sharp pulses such as ignition or power-line noise. Click it to choose Off, NB1 or NB2. It works best on strong impulses, and too much can distort strong nearby signals.
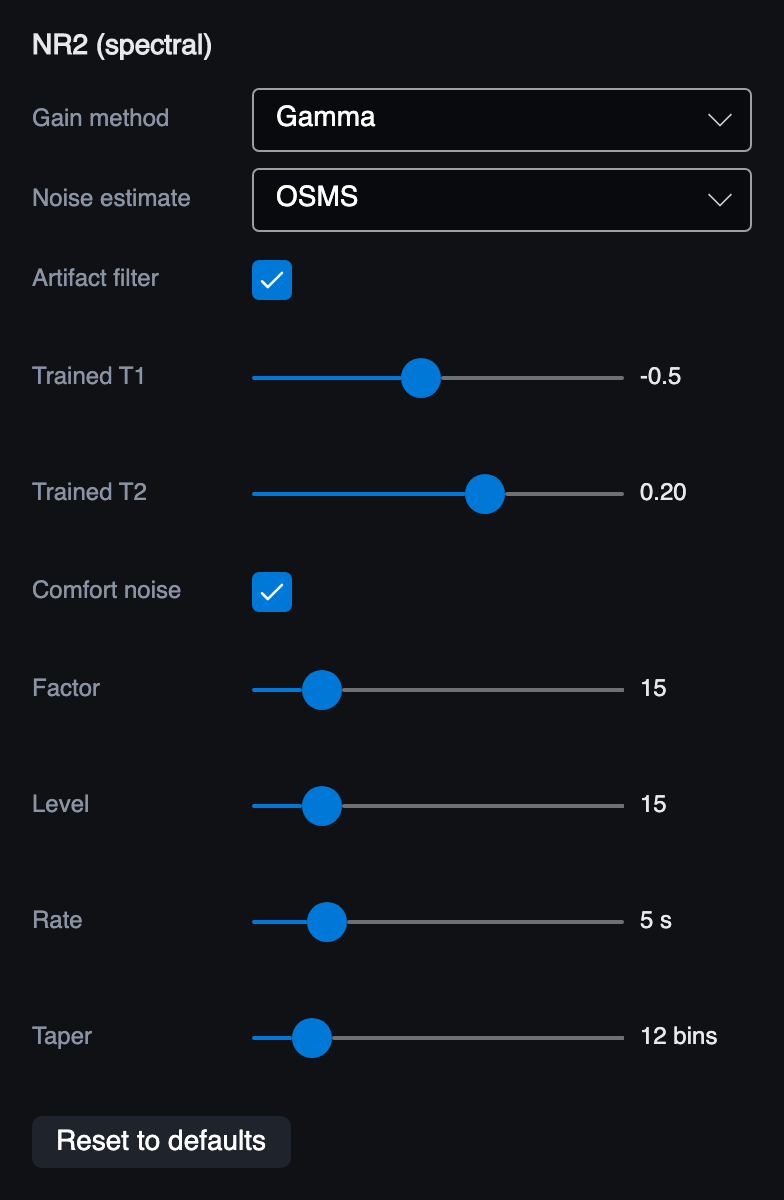
- NR is noise reduction, for steady hiss. NR1 to NR4 and NNR are different methods, so try each. A little goes a long way: too much sounds watery.
- ANF removes steady tones automatically, such as carriers and tuner-uppers.
NB and NR have their settings on a right-click. The NR settings shown are those of the method you've chosen.

Manual notches
ANF hunts for tones by itself. A manual notch stays exactly where you put it, which takes a steady tone out more deeply.
- Right-click ANF and press Add on panadapter.
- Click the tone on the panadapter. A red band marks the notch.
- Set its width in the panel. Try 50 Hz for one carrier.
Remove or Clear all takes them away.
Squelch and the RX leveler
SQL is the squelch. Click for on or off, and right-click for the level. Adaptive follows the band noise, so you don't have to reset it. Untick it to set the level yourself.
RX Lev brings weak stations up to a steady listening level. Right-click it for its settings.
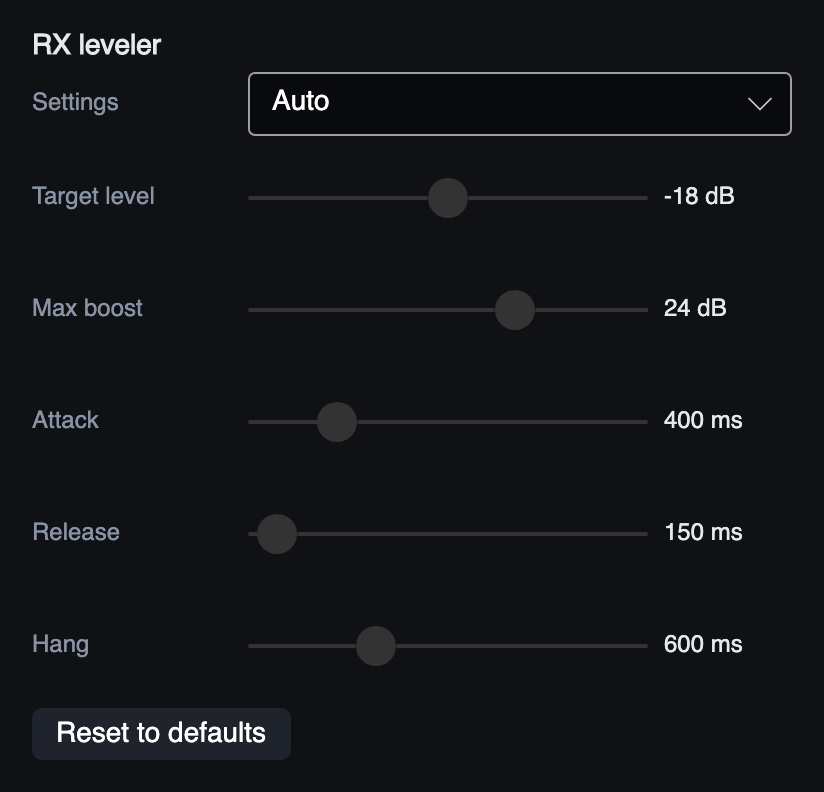
Auto uses the engine's own values. Custom lets you set the target level, the most boost it may add, how fast it comes up (attack), how fast it backs down (release), and how long it holds before backing down (hang).
Antennas
Ant, under the panadapter, picks this band's transmit and receive antennas. Config > Antennas shows every band at once.
Two receivers
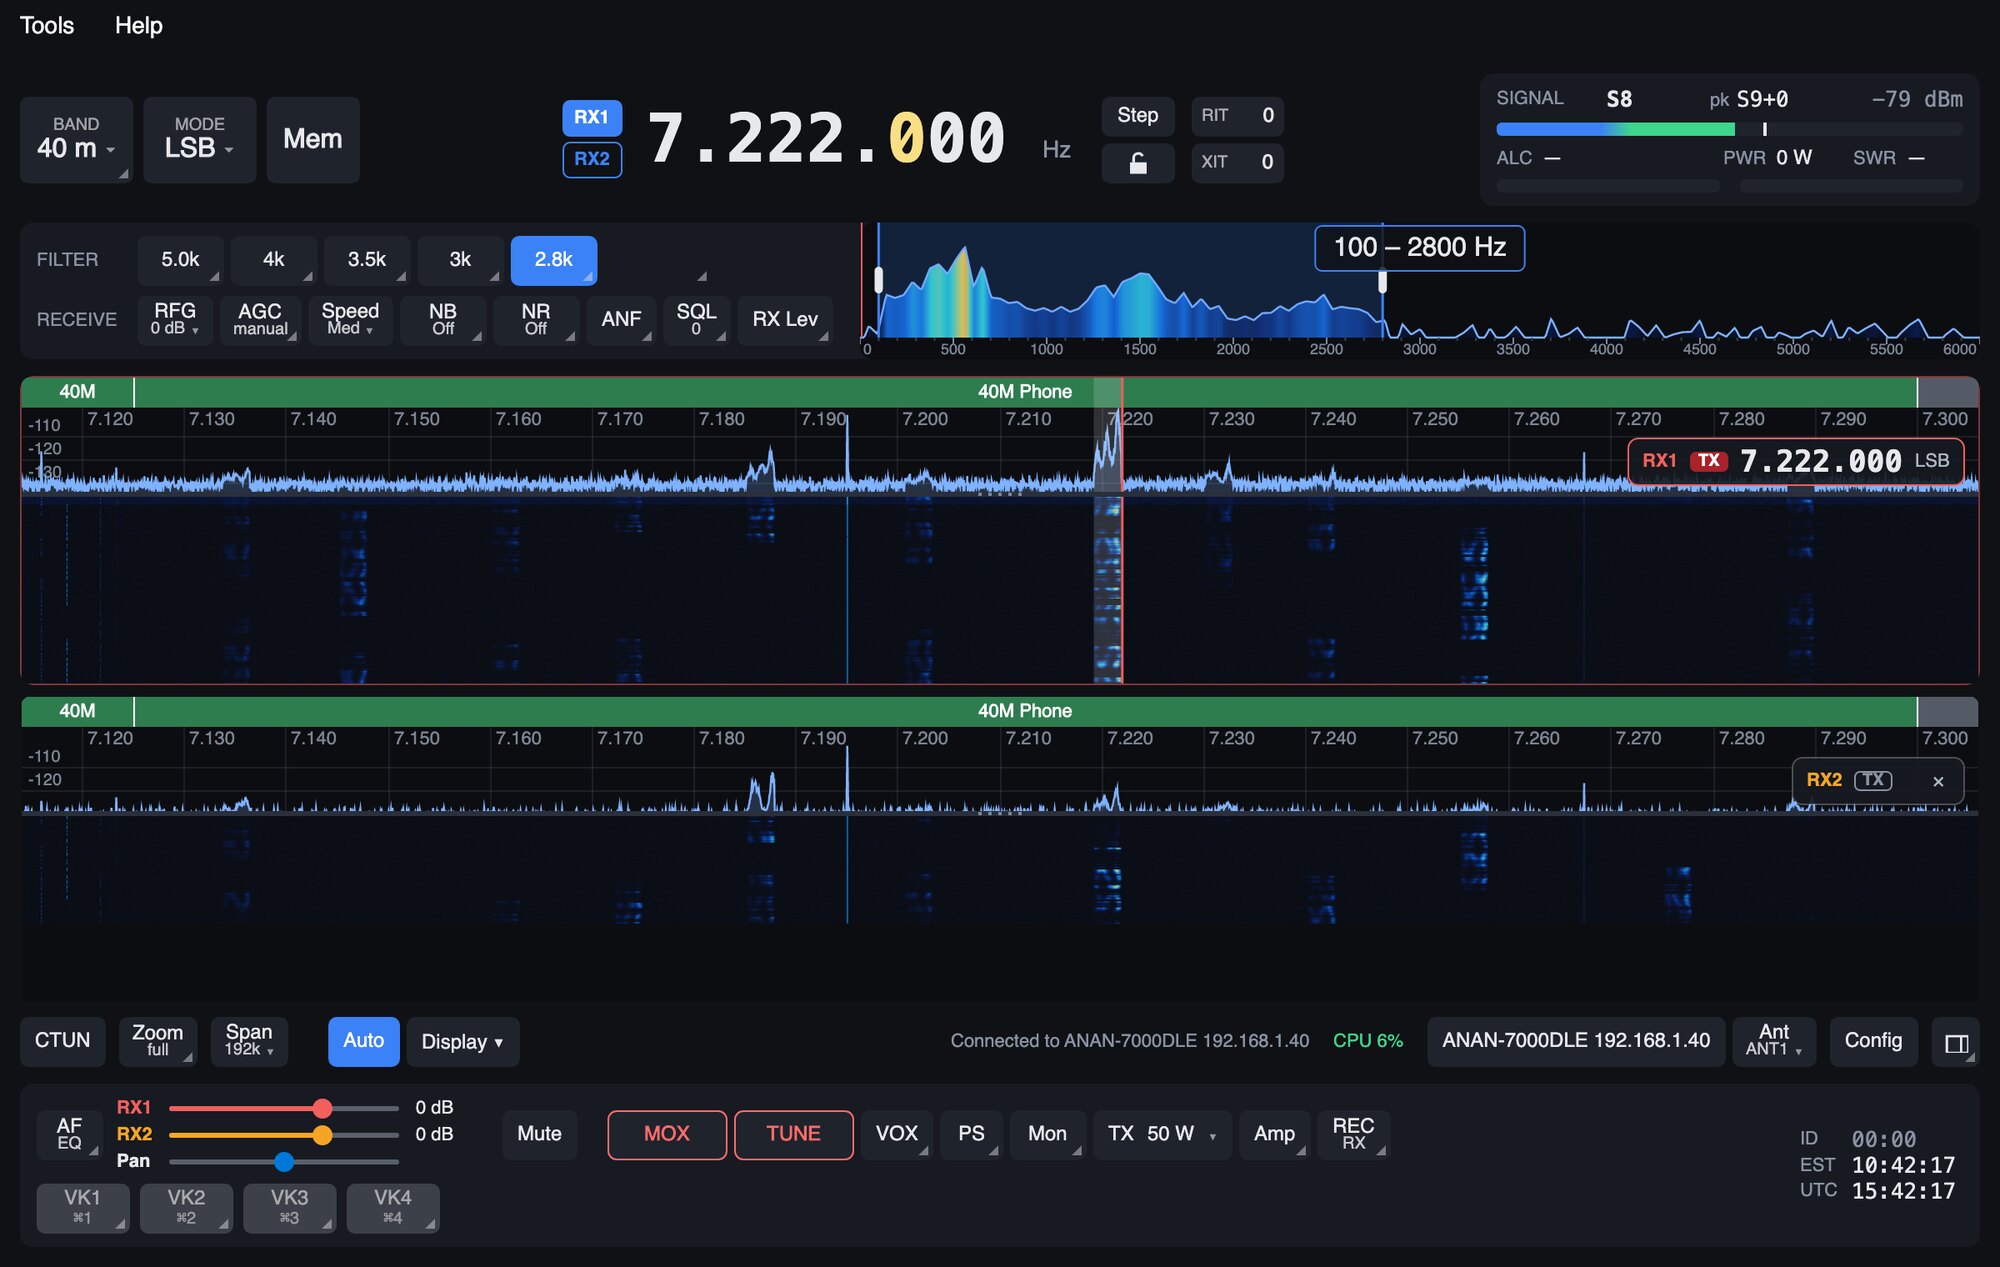
SimpleHPSDR has two receivers, RX1 and RX2. Each has its own panadapter, and you hear both at once.
Turning RX2 on
Click RX2, left of the frequency. A second panadapter opens on RX1's frequency and mode, and RX2 has the controls. Change its band or tune it wherever you like.
RX1 and RX2 beside the frequency show which receiver the frequency, band, mode and filter controls act on: blue has the controls. Click the other one to switch. RX2 outlined in blue is on and waiting. A click or the wheel on a panadapter gives that receiver the controls too.
Drag the bar between the two panadapters to share the room between them.
The small frequency display on each panadapter
While RX2 is on, each panadapter shows its receiver's frequency and mode at the top right.
- The wheel over it tunes that receiver, and a click lets you type a frequency.
- The TX mark is red on the receiver that transmits. Click the other one's TX mark to transmit there.
- When both receivers are on the same band, each panadapter also flags where the other one is.
Two volume sliders and Pan
With RX2 or slice B on, AF becomes two sliders, one over the other. Each sets that receiver's own level on top of the overall level, which stays where you left it.
Pan, the third slider under those two, puts the receivers in different ears on stereo speakers or headphones. In the middle, both are in both ears. Slide it left and the first receiver moves to the left ear and the second to the right, all the way for a full split. Slide it right for the other way round. It works on this computer's sound output, not on the radio's own speaker or headphone jack.
Turning RX2 off
Click the ✕ on RX2's small frequency display, or right-click RX2. The right-click menu also puts the two panadapters side by side or one above the other, and swaps the two receivers' frequencies.
RX2 stays on while you're transmitting on it: unkey first.
Working split
- Tune RX1 to the DX station.
- Click RX2 and tune it to where they're listening.
- Click TX on RX2's small frequency display.
You now transmit on RX2's frequency while hearing both. Click RX1 to put the controls back on the DX station. Transmit stays on RX2 until you click RX1's TX mark.
Slice B: a second frequency on one panadapter
With RX2 off, the second receiver can share RX1's panadapter as slice B, which suits split on one band.
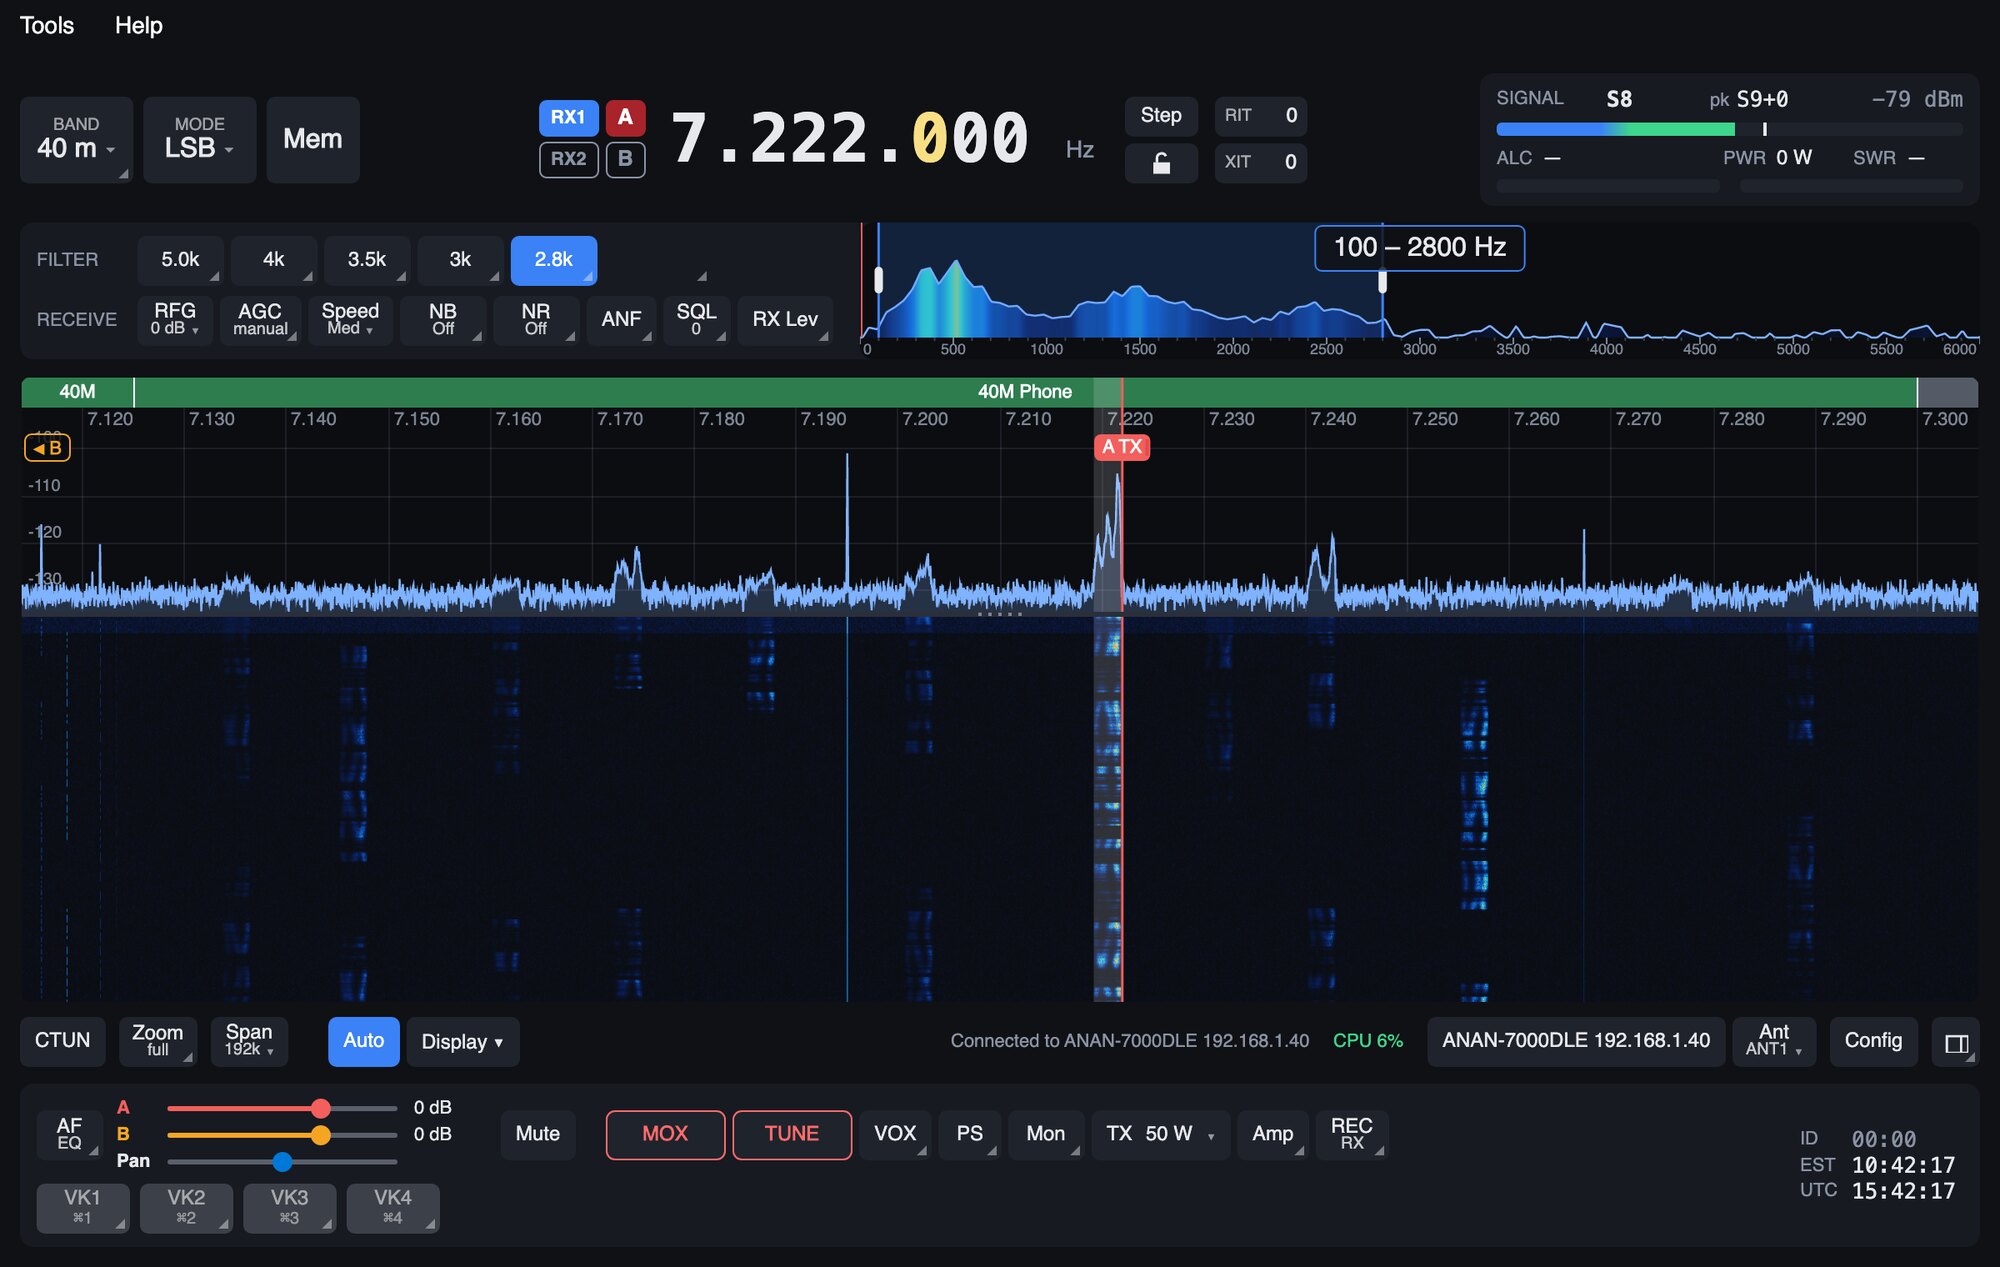
- Right-click the panadapter and choose Add slice B. The same menu makes a slice active, moves slice B, mutes either slice, and removes slice B.
- Click a slice's tag on the panadapter to make it active.
- A and B then appear beside RX1 and RX2: blue is the active slice, red is the one that transmits. Click A or B there to transmit on that slice.
- Clicking RX2 moves slice B into its own panadapter as RX2.
RX2 on the Rx2 jack
Both receivers normally hear the main antenna. Radios with two receivers inside (ANAN-7000DLE, 8000DLE, G2 and similar) also have an Rx2 jack on the back, for a receive-only antenna, say.
- To have RX2 listen there, click ANT left of RX2's small frequency display, or open Ant and set B to Rx2 jack. That also works for slice B.
- The choice is remembered for RX2. A slice B added on RX1's panadapter starts on the main antenna.
- The Ant button then lights and shows B:Rx2 jack. With nothing in the jack, RX2 goes quiet.
- While RX2 has the controls, ATT and Pre set the Rx2 jack's own attenuator (ATT shows Rx2), and Pre steps 0, 10, 20, 30 dB: the preamp belongs to the main antenna. Auto ATT looks after both inputs.
The jack is a receive-only input, which the radio grounds while transmitting. Either receiver can still be the transmitting one, and transmit always leaves by the TX antenna.
Hearing the receivers while you transmit
DUP, at the bottom of the TX button's popup, keeps you hearing the receivers while transmitting. It needs a separate receive antenna or a slice on another band, or the radio's own signal will overload them.